THRIFT FLIP: New Faux Plant
I’m always on the hunt for fake plants when I go out thrifting, in my ongoing effort to make my apartment look like as much as the one from “Three’s Company” as possible:
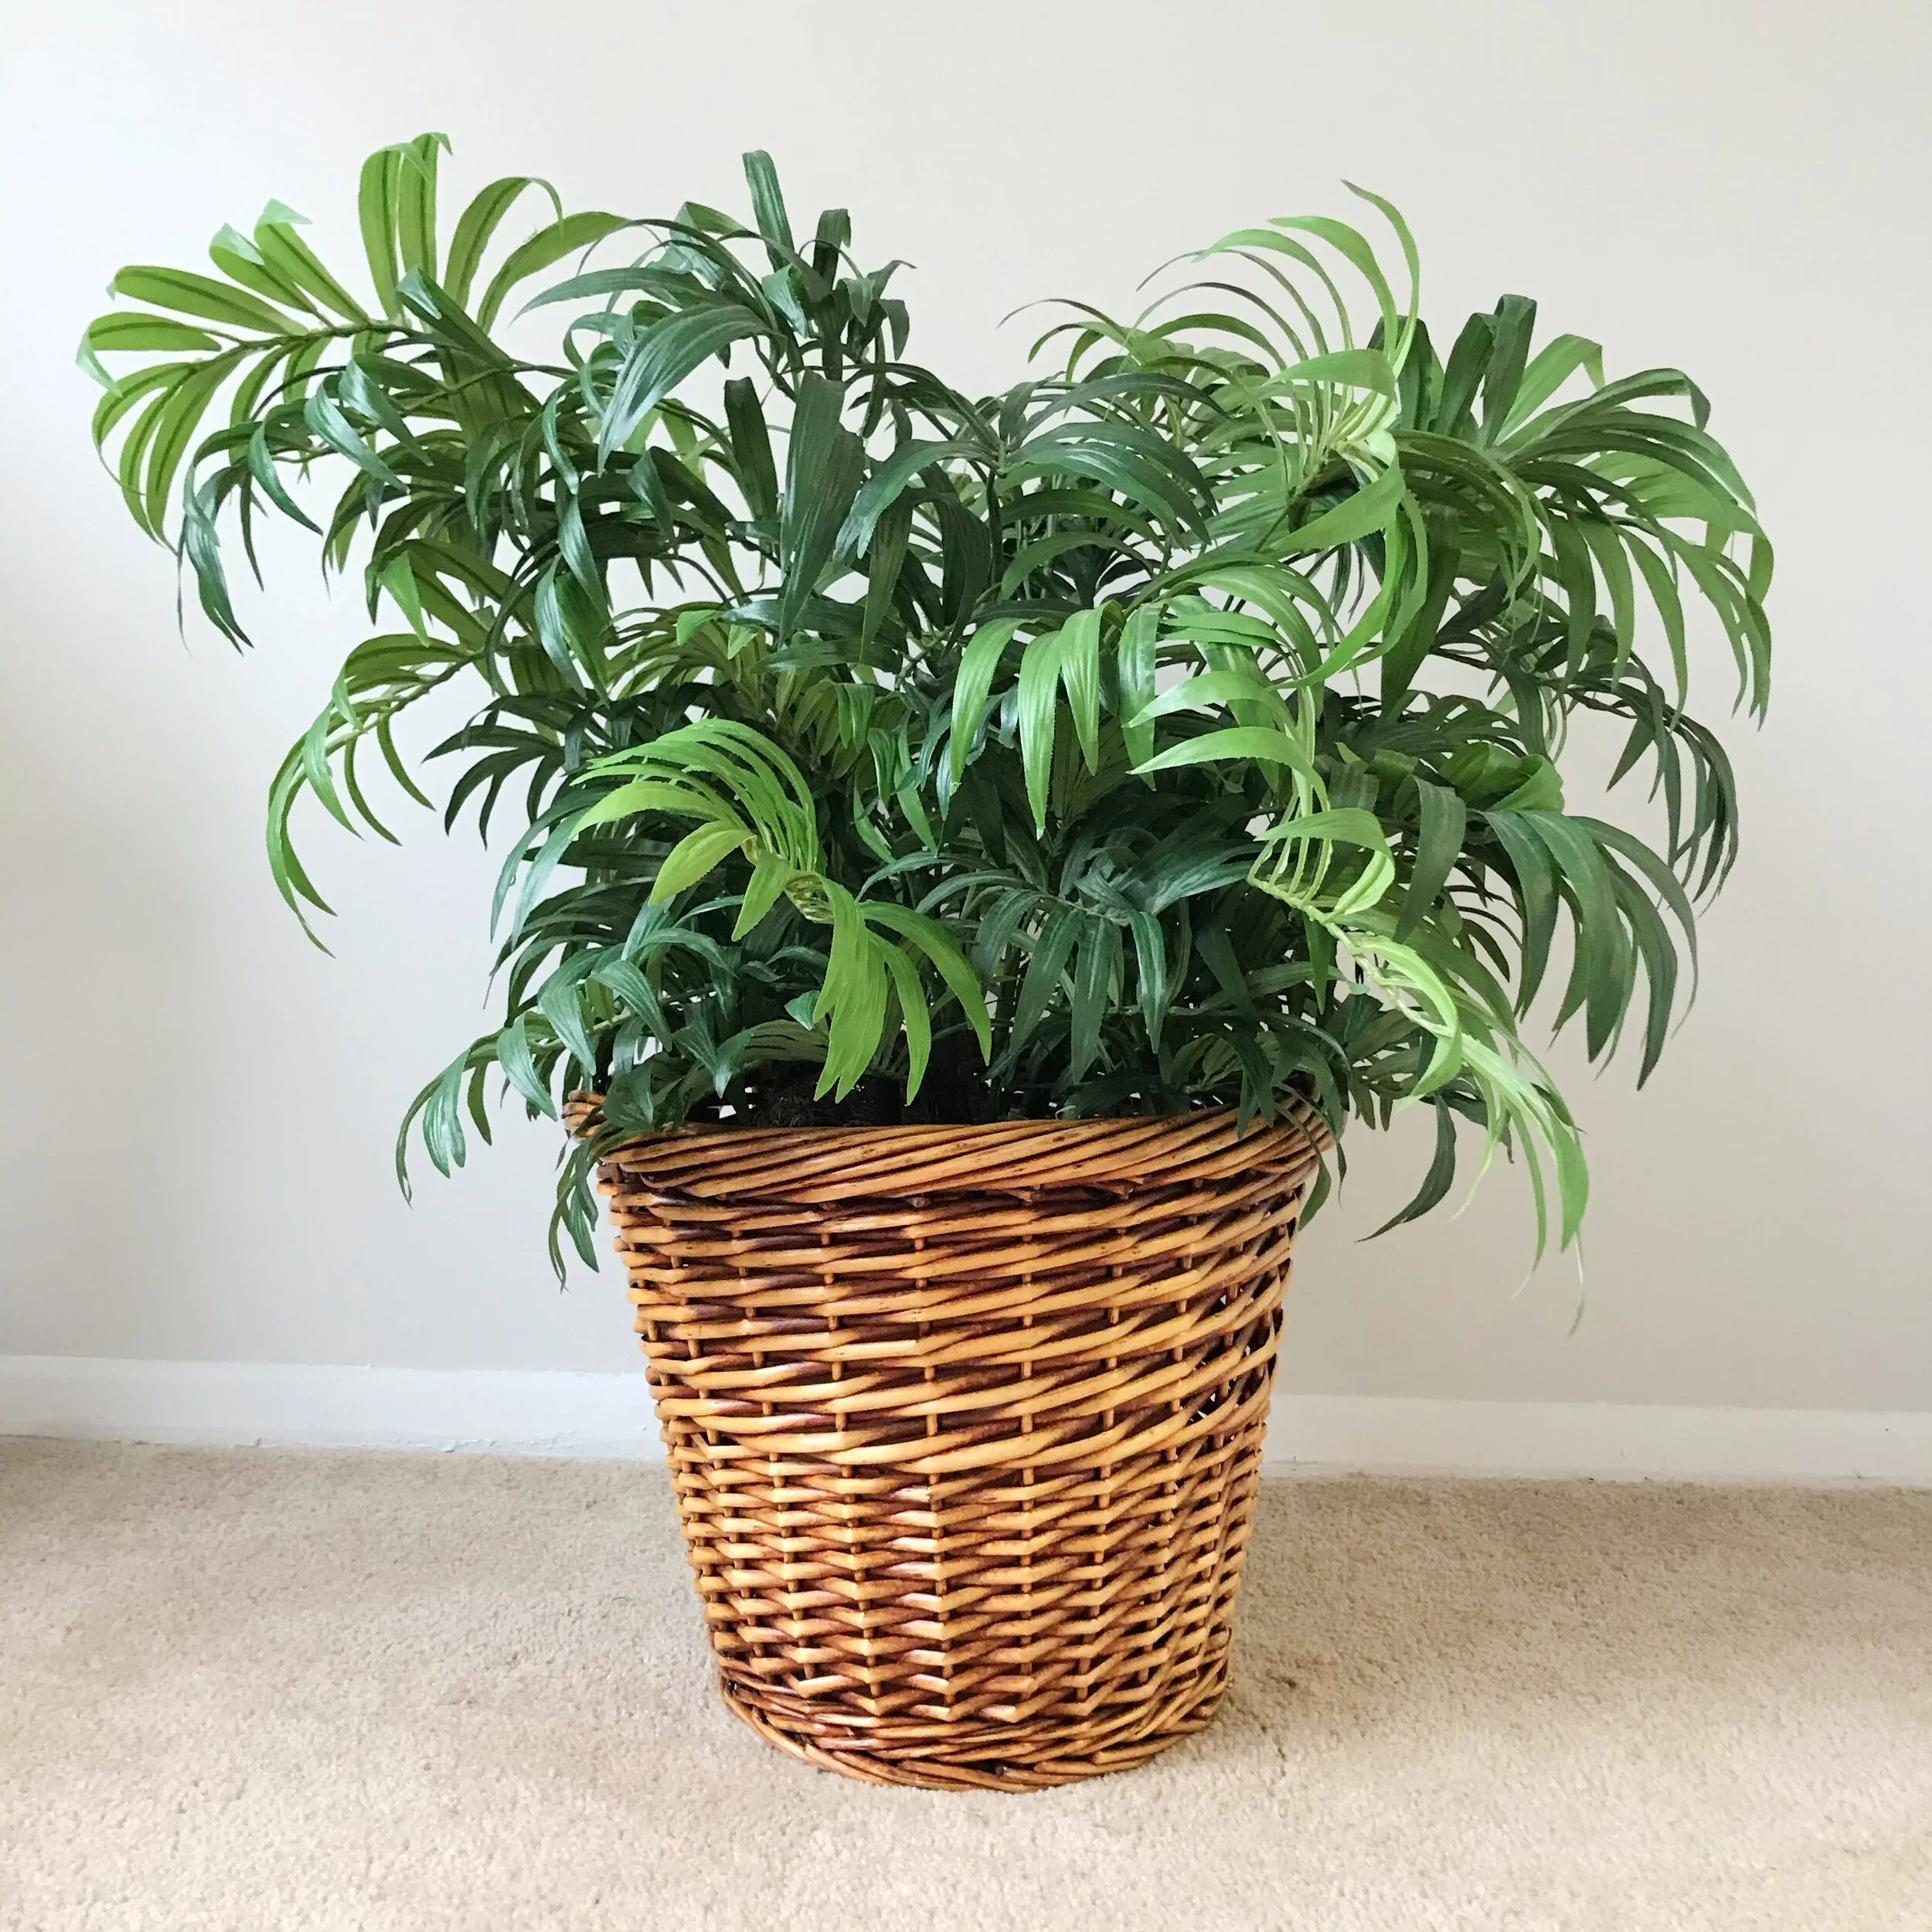
As I have stated before, fake plants are one of my favorite things to thrift because they’re so expensive when you get them new. (Or the cheap ones are plastic and look REALLY fake, which isn’t my cup of tea.) I also like the shop for them at thrift stores because for me, it’s a true hunt. I’m very choosy about what I look and I don’t always find them so when one catches my eye, I go for it. Like this one:
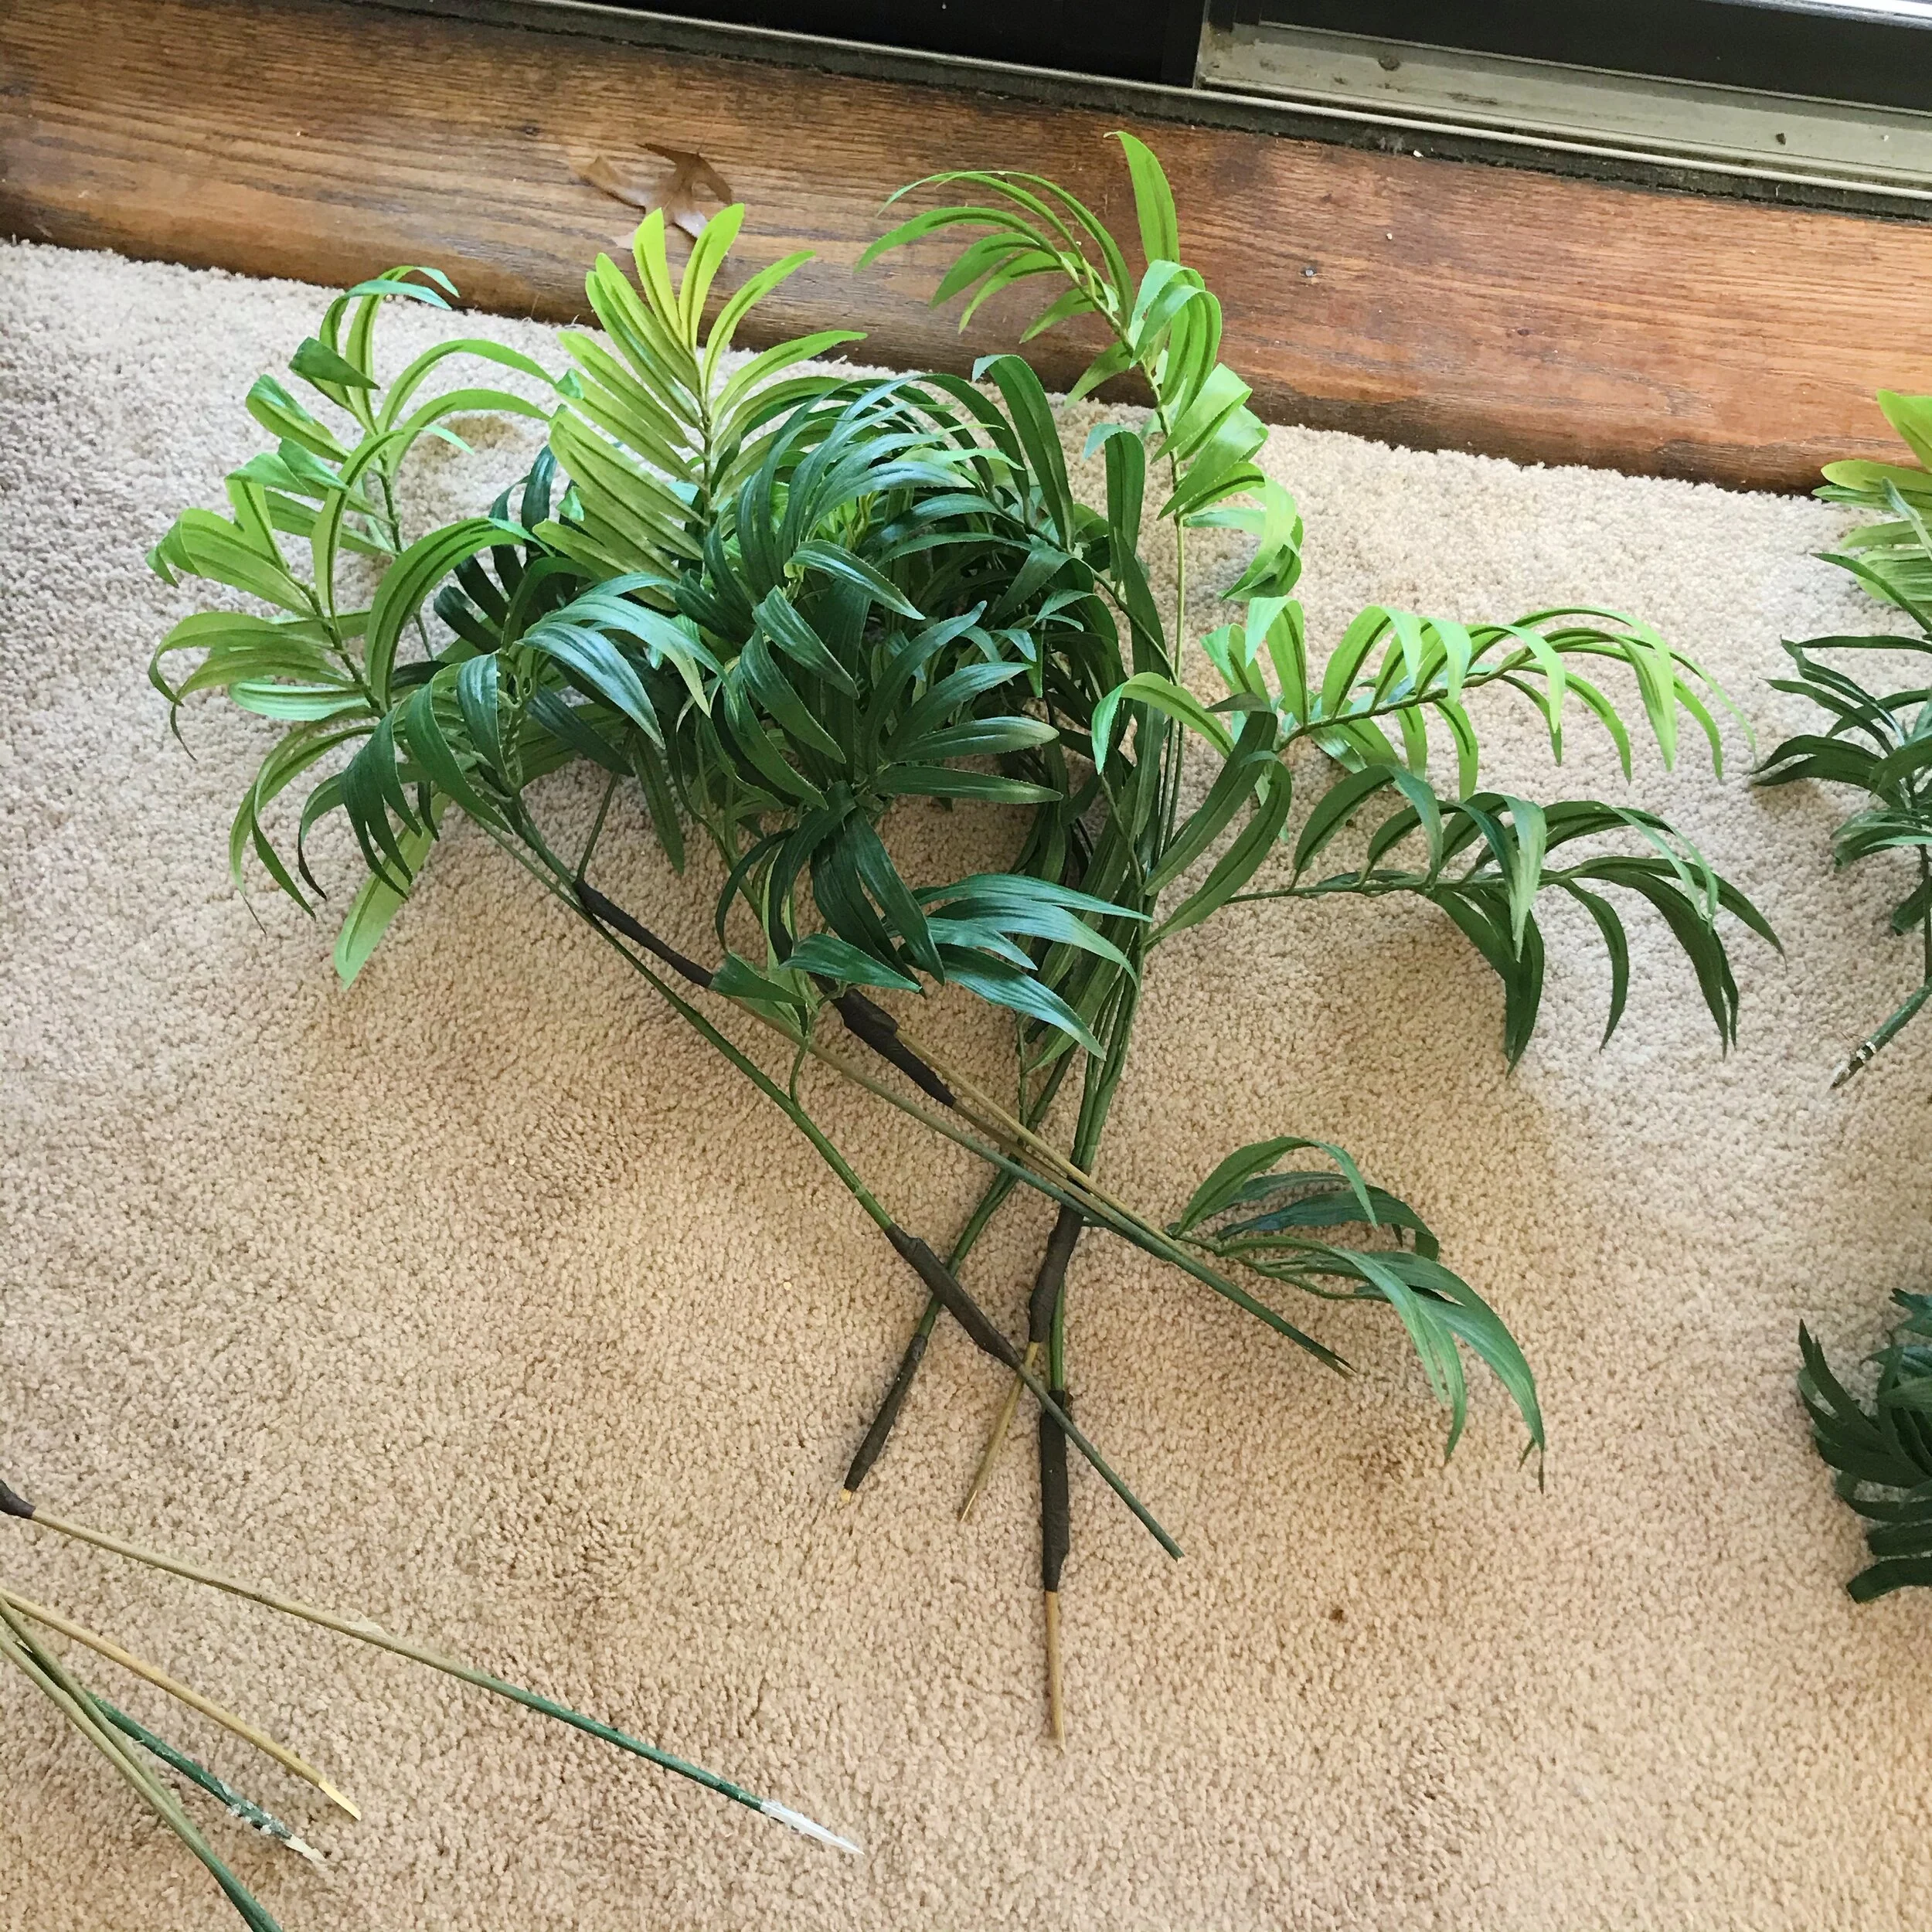
It’s hard to see from this photo, but this guy was in… interesting shape. The fronds where in individual pieces, stuck into a foam base (in the basket), with a few fronds that had apparently been broken off at some point in its life:
It’s kind of amazing that apparently there used to be MORE leaves crammed in there, since it was already looking VERY full. Since everything was stuck in foam, I felt confident that this would be a super easy thrift flip, and I could very easily get him looking good.
Also, it was $5.25! For five bucks, I was willing to risk totally messing it up. (But again, I also felt confident that I could fix this guy up quickly, easily, and affordably.
First, I made a trip to Michaels and bought some essentials:
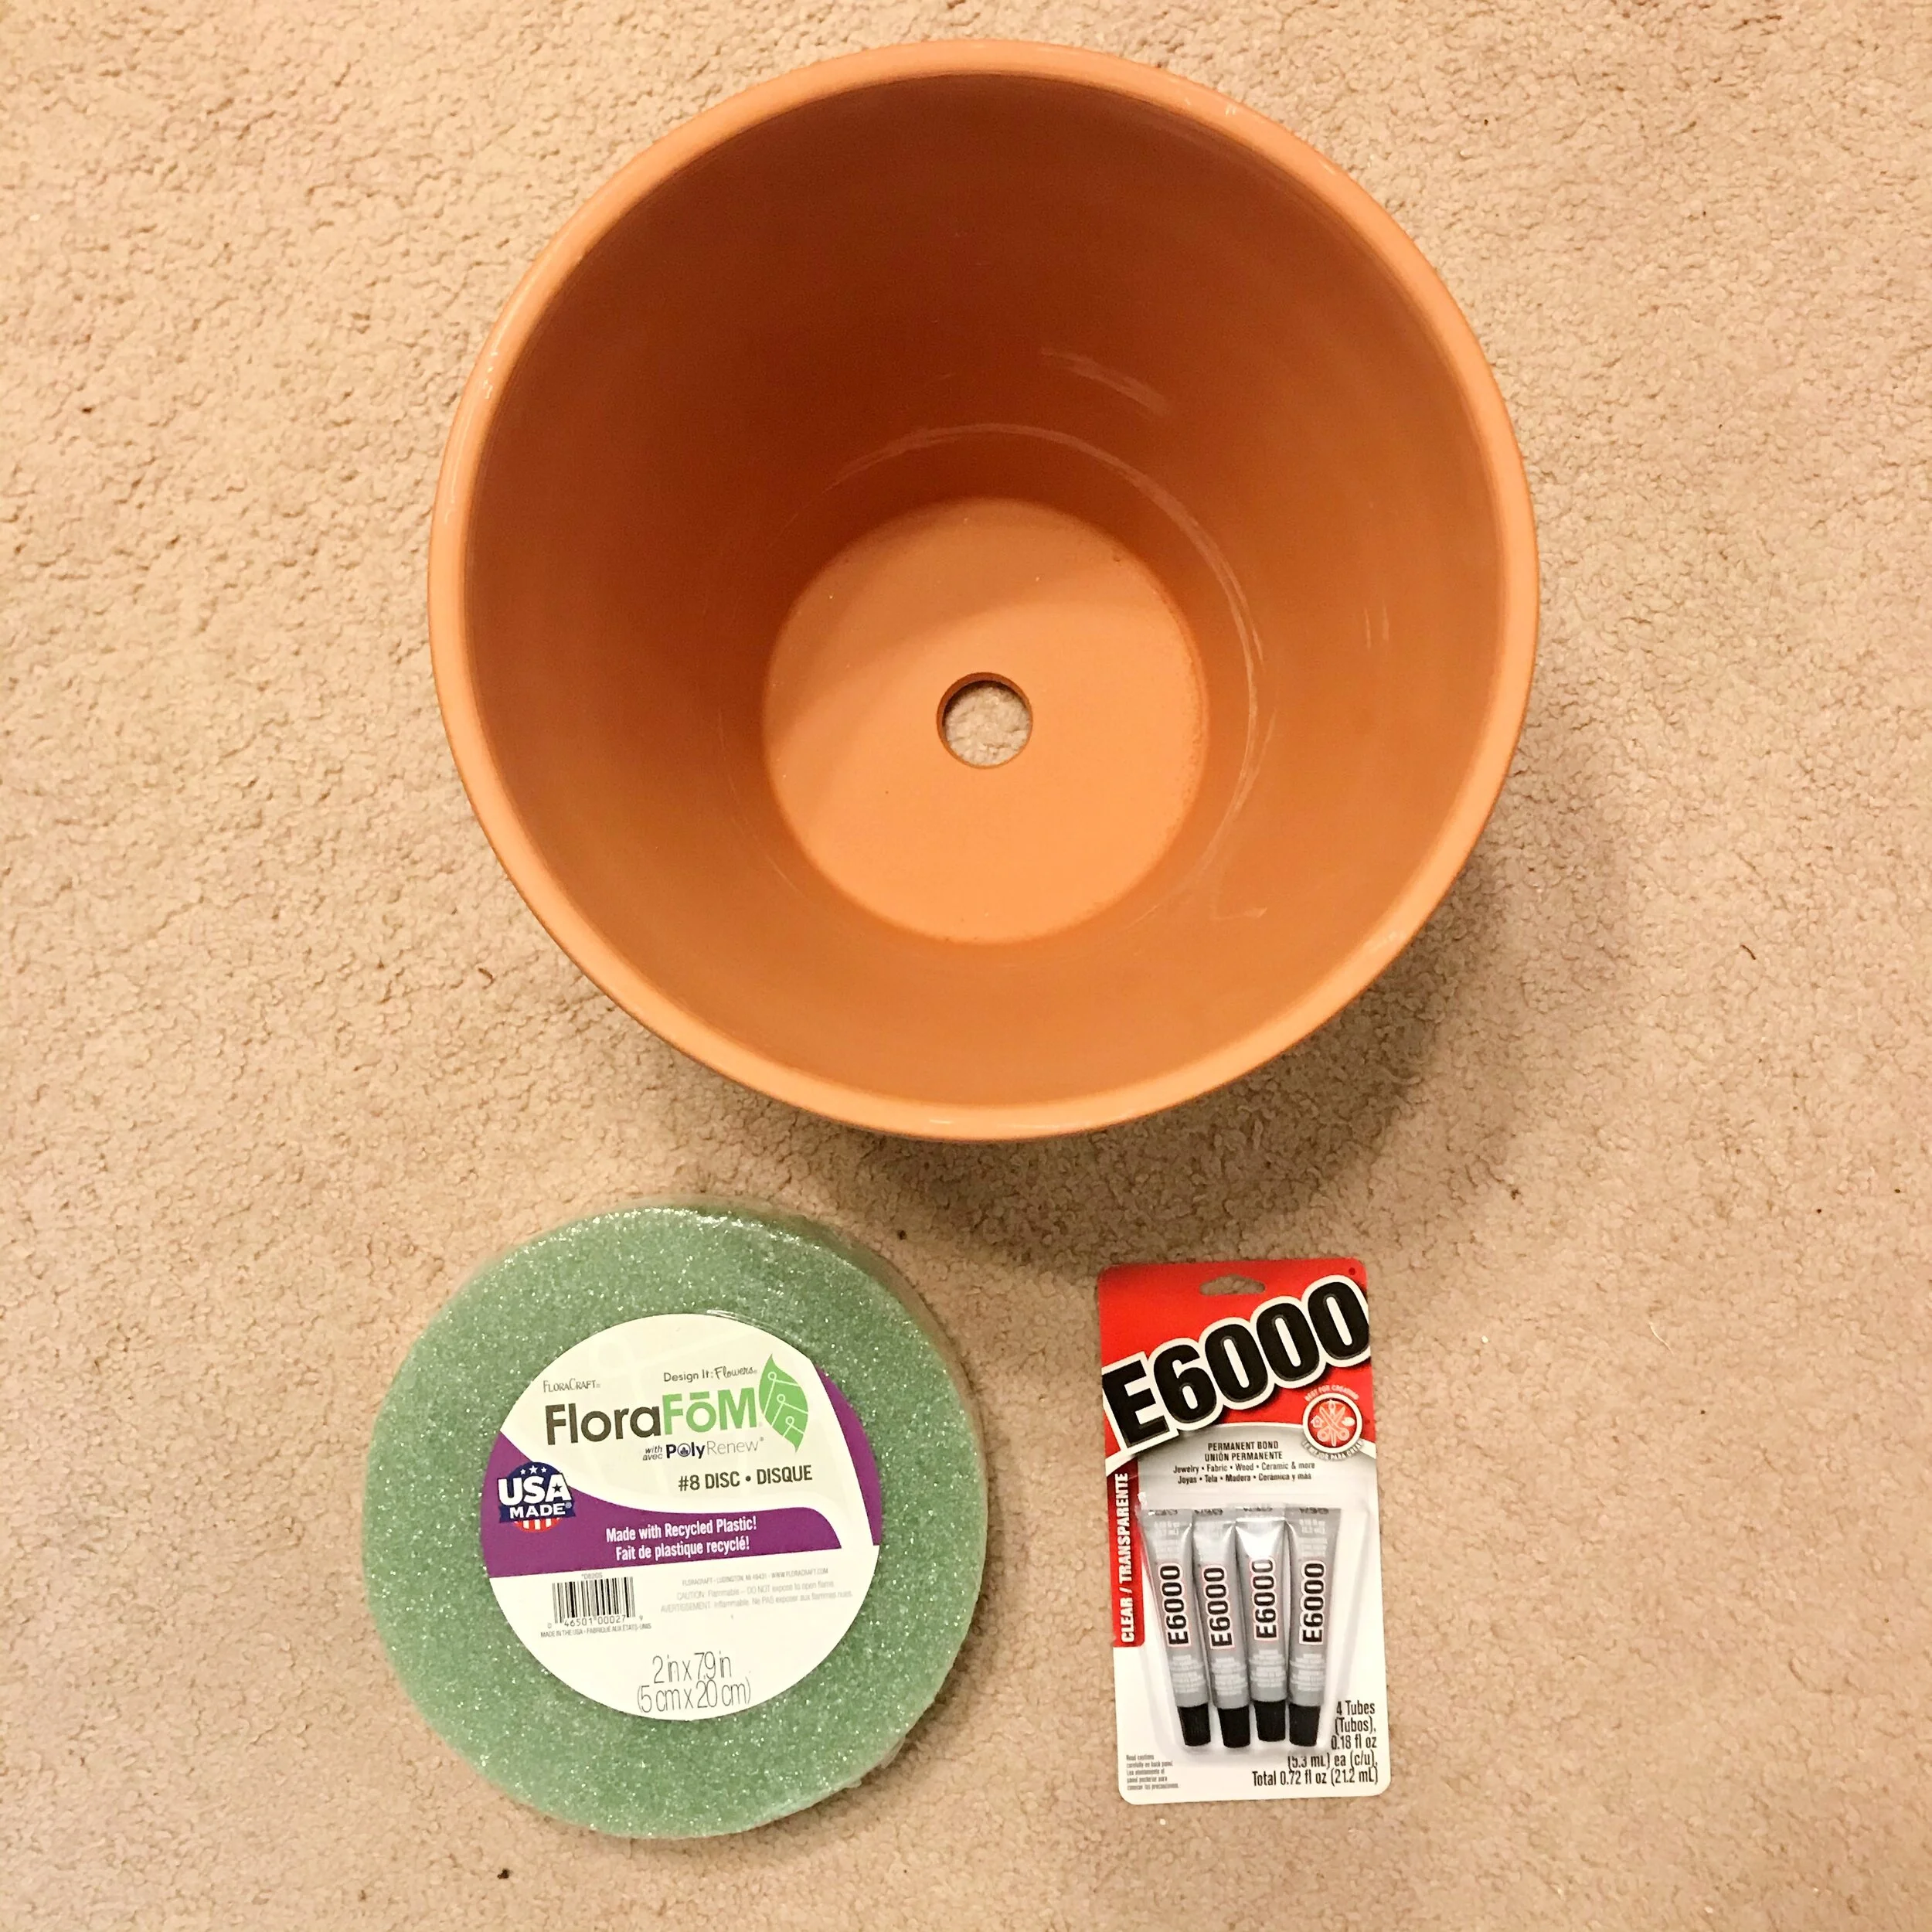
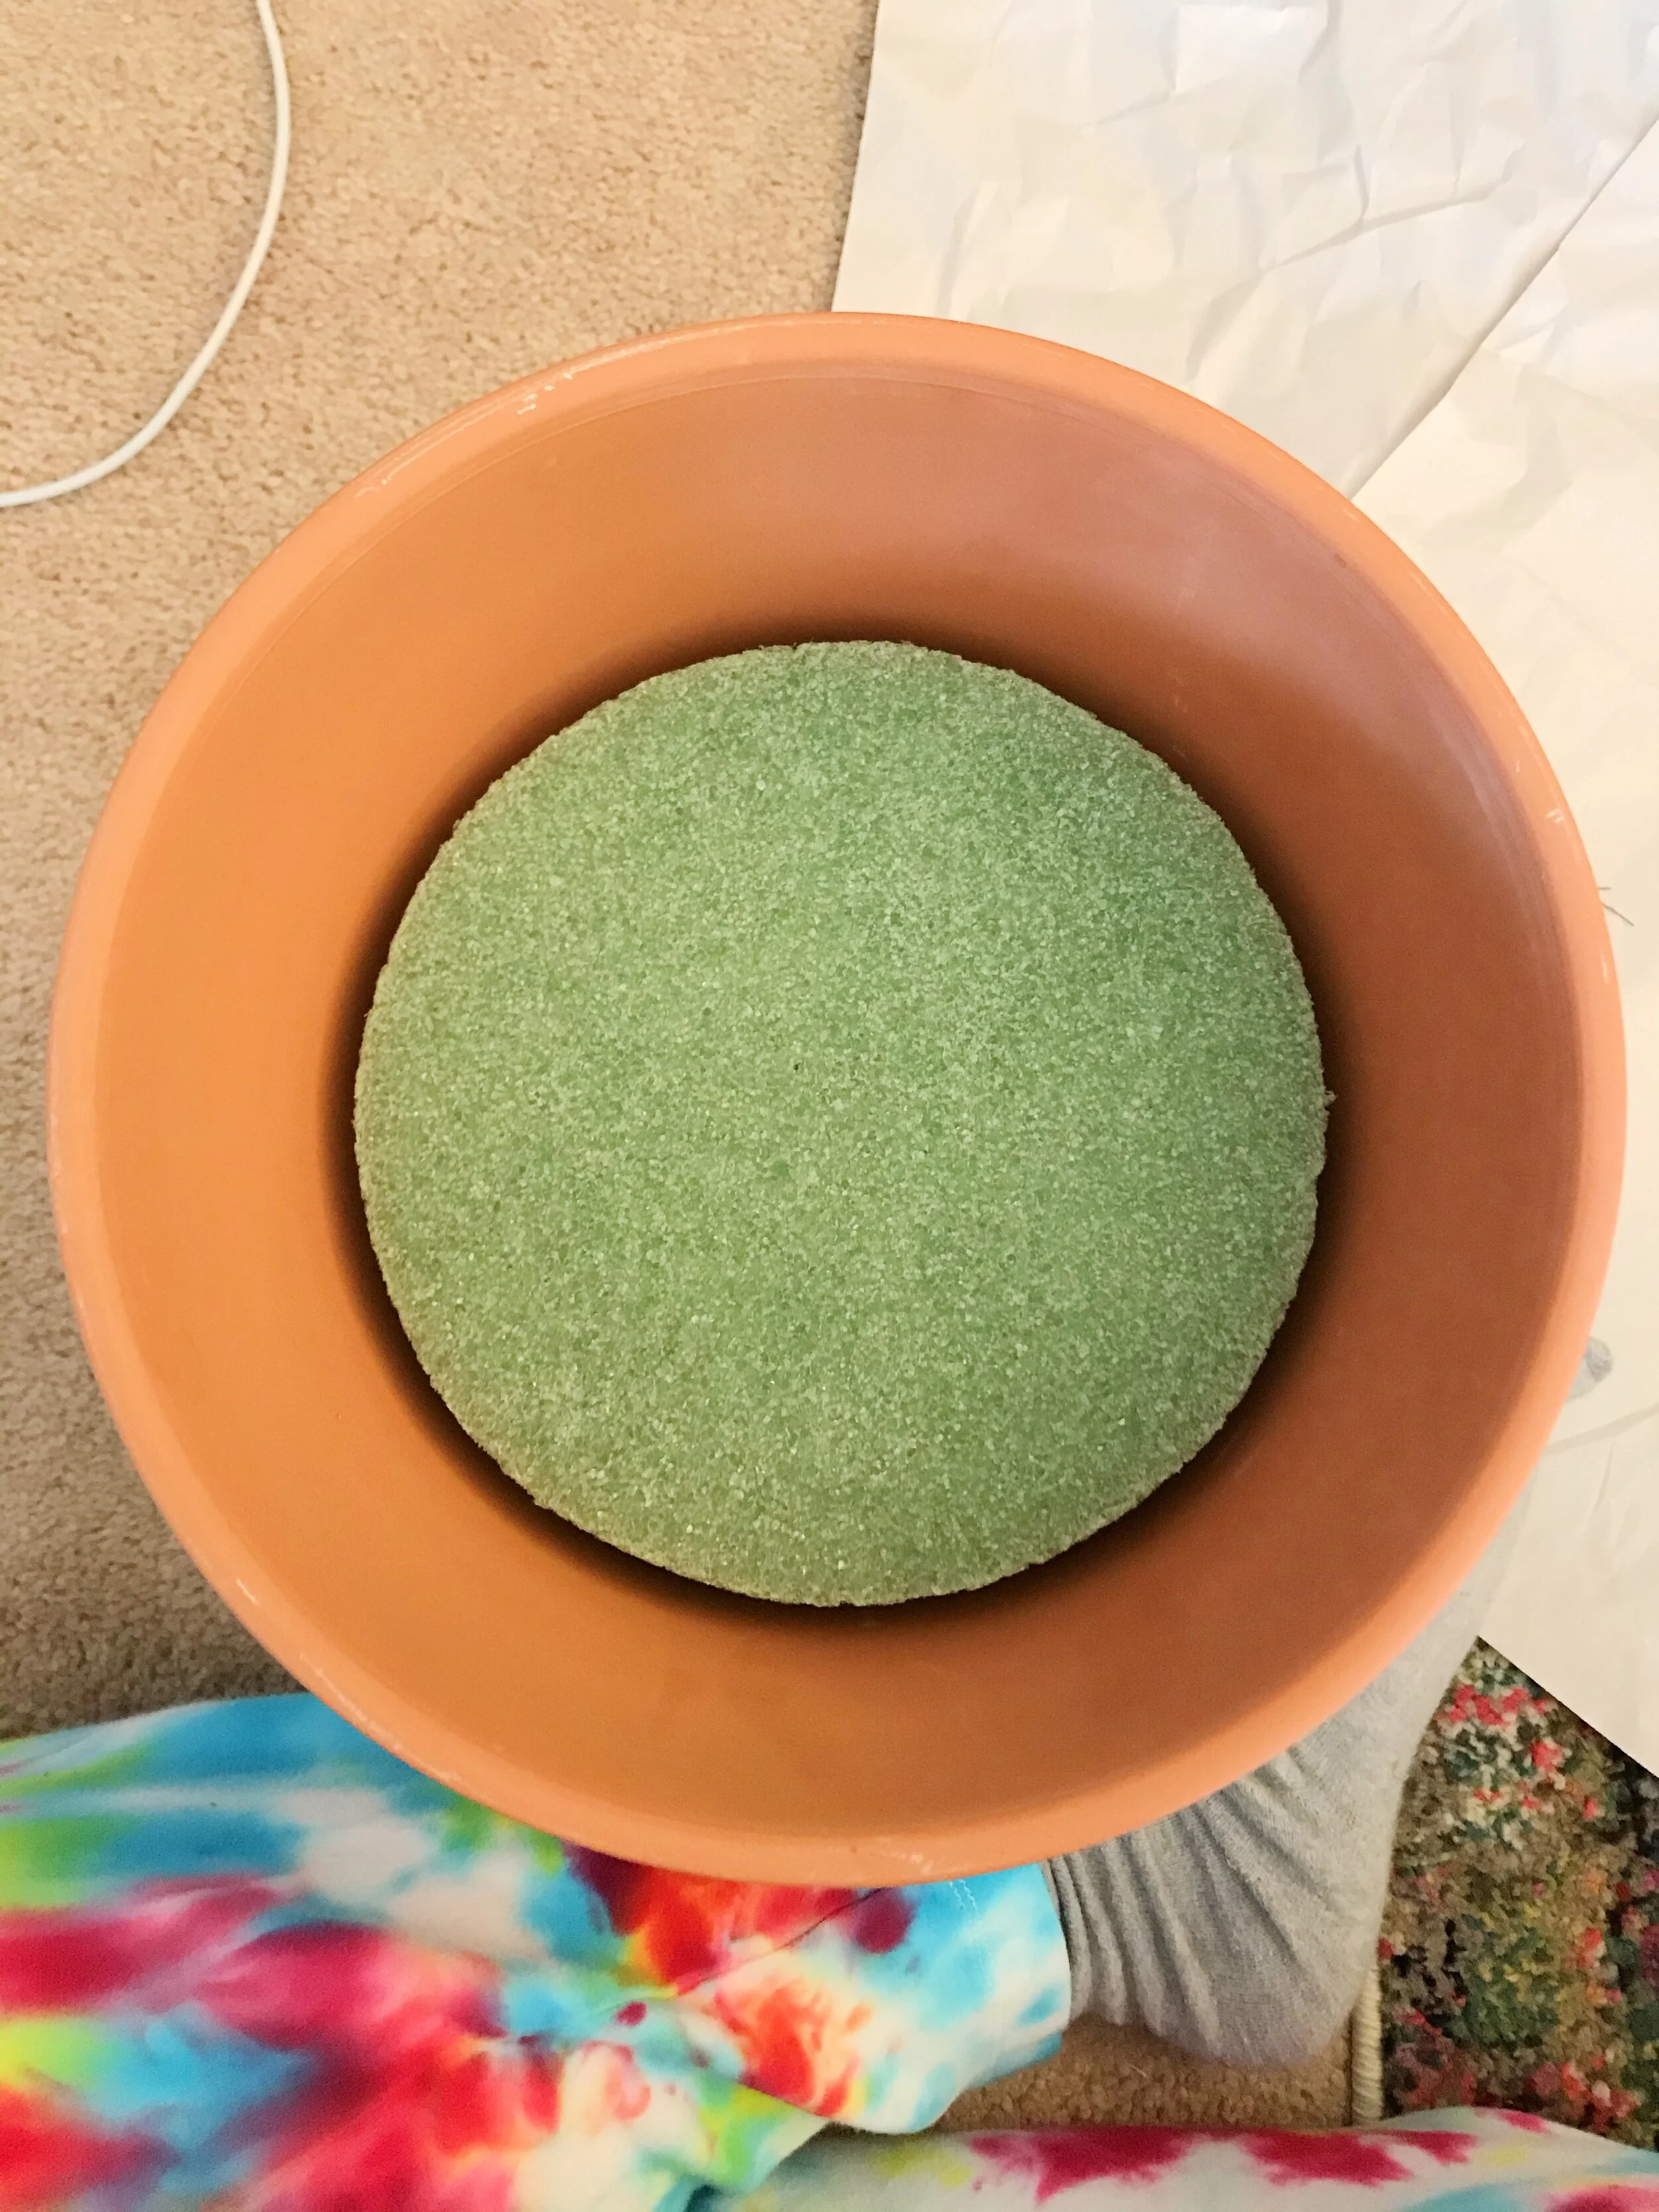
Since I was going to throw out the foam that was anchoring in all the fronds, I needed something new to hold everything. The Flora Foam was about $4 and fit into the middle of the flower pot.
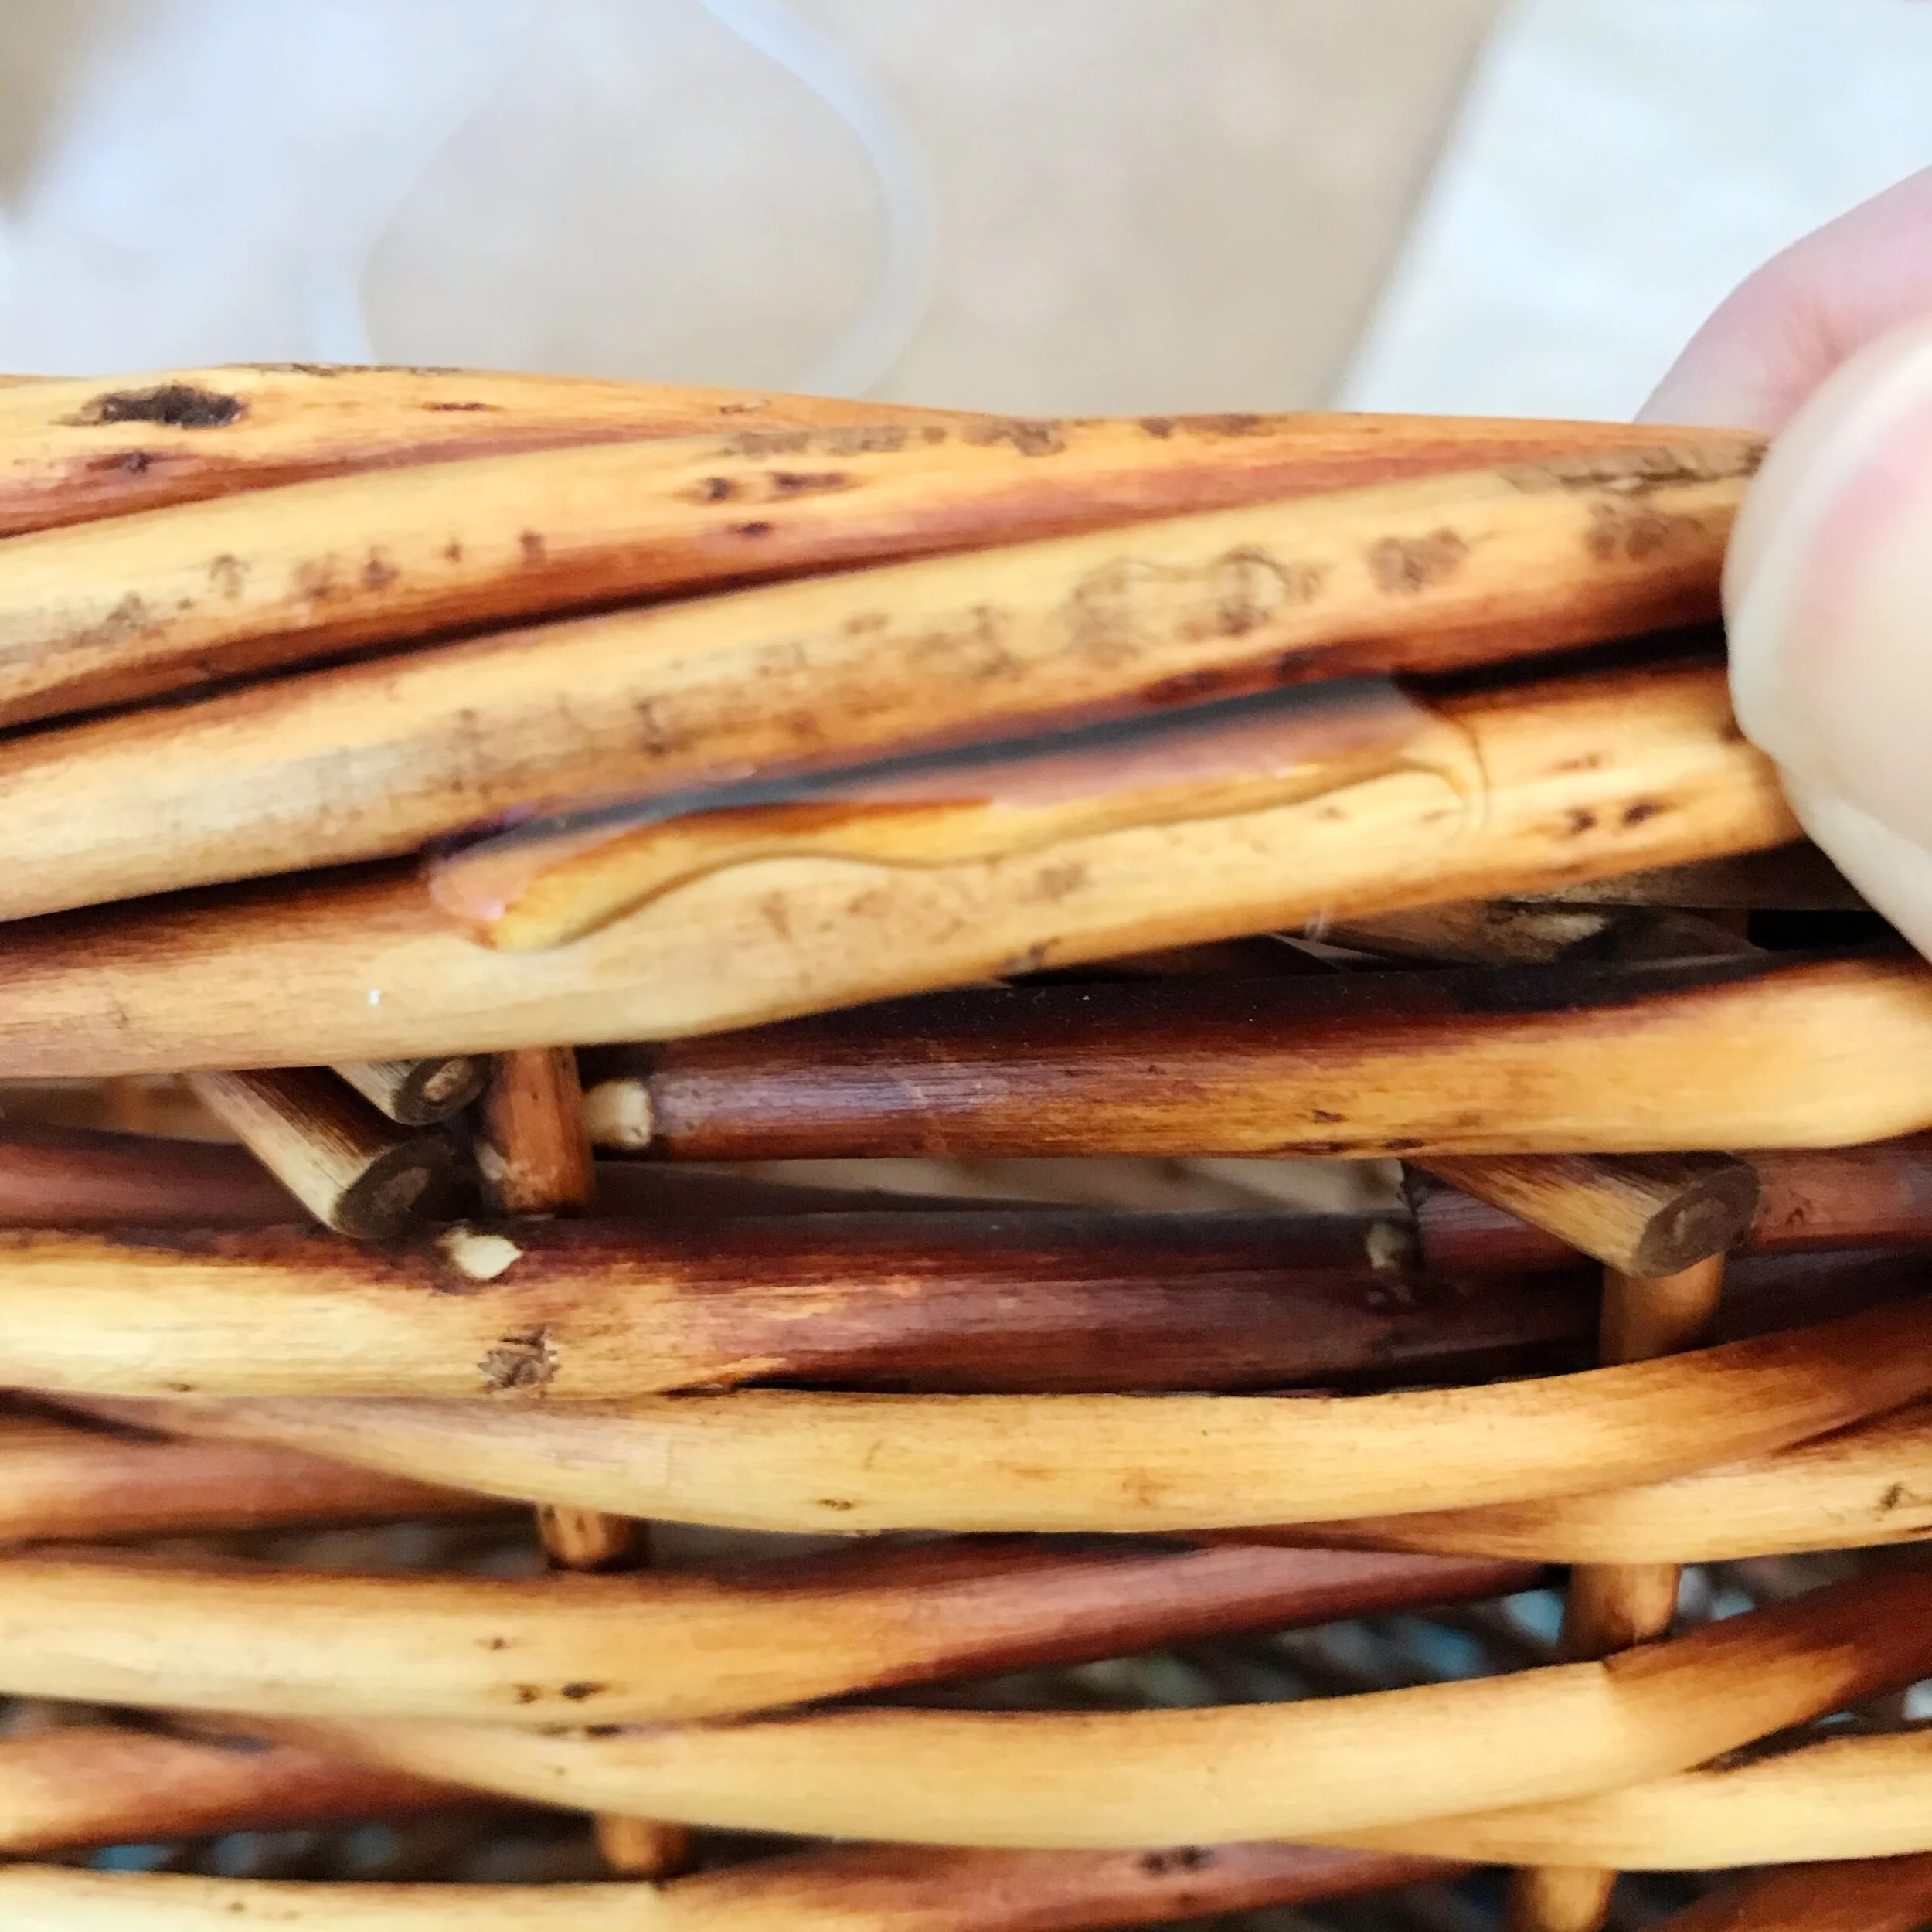
It wedged in and I didn’t need any glue to secure it. So why did I buy E6000? Because the basket had broken in one place and I needed to glue it back:
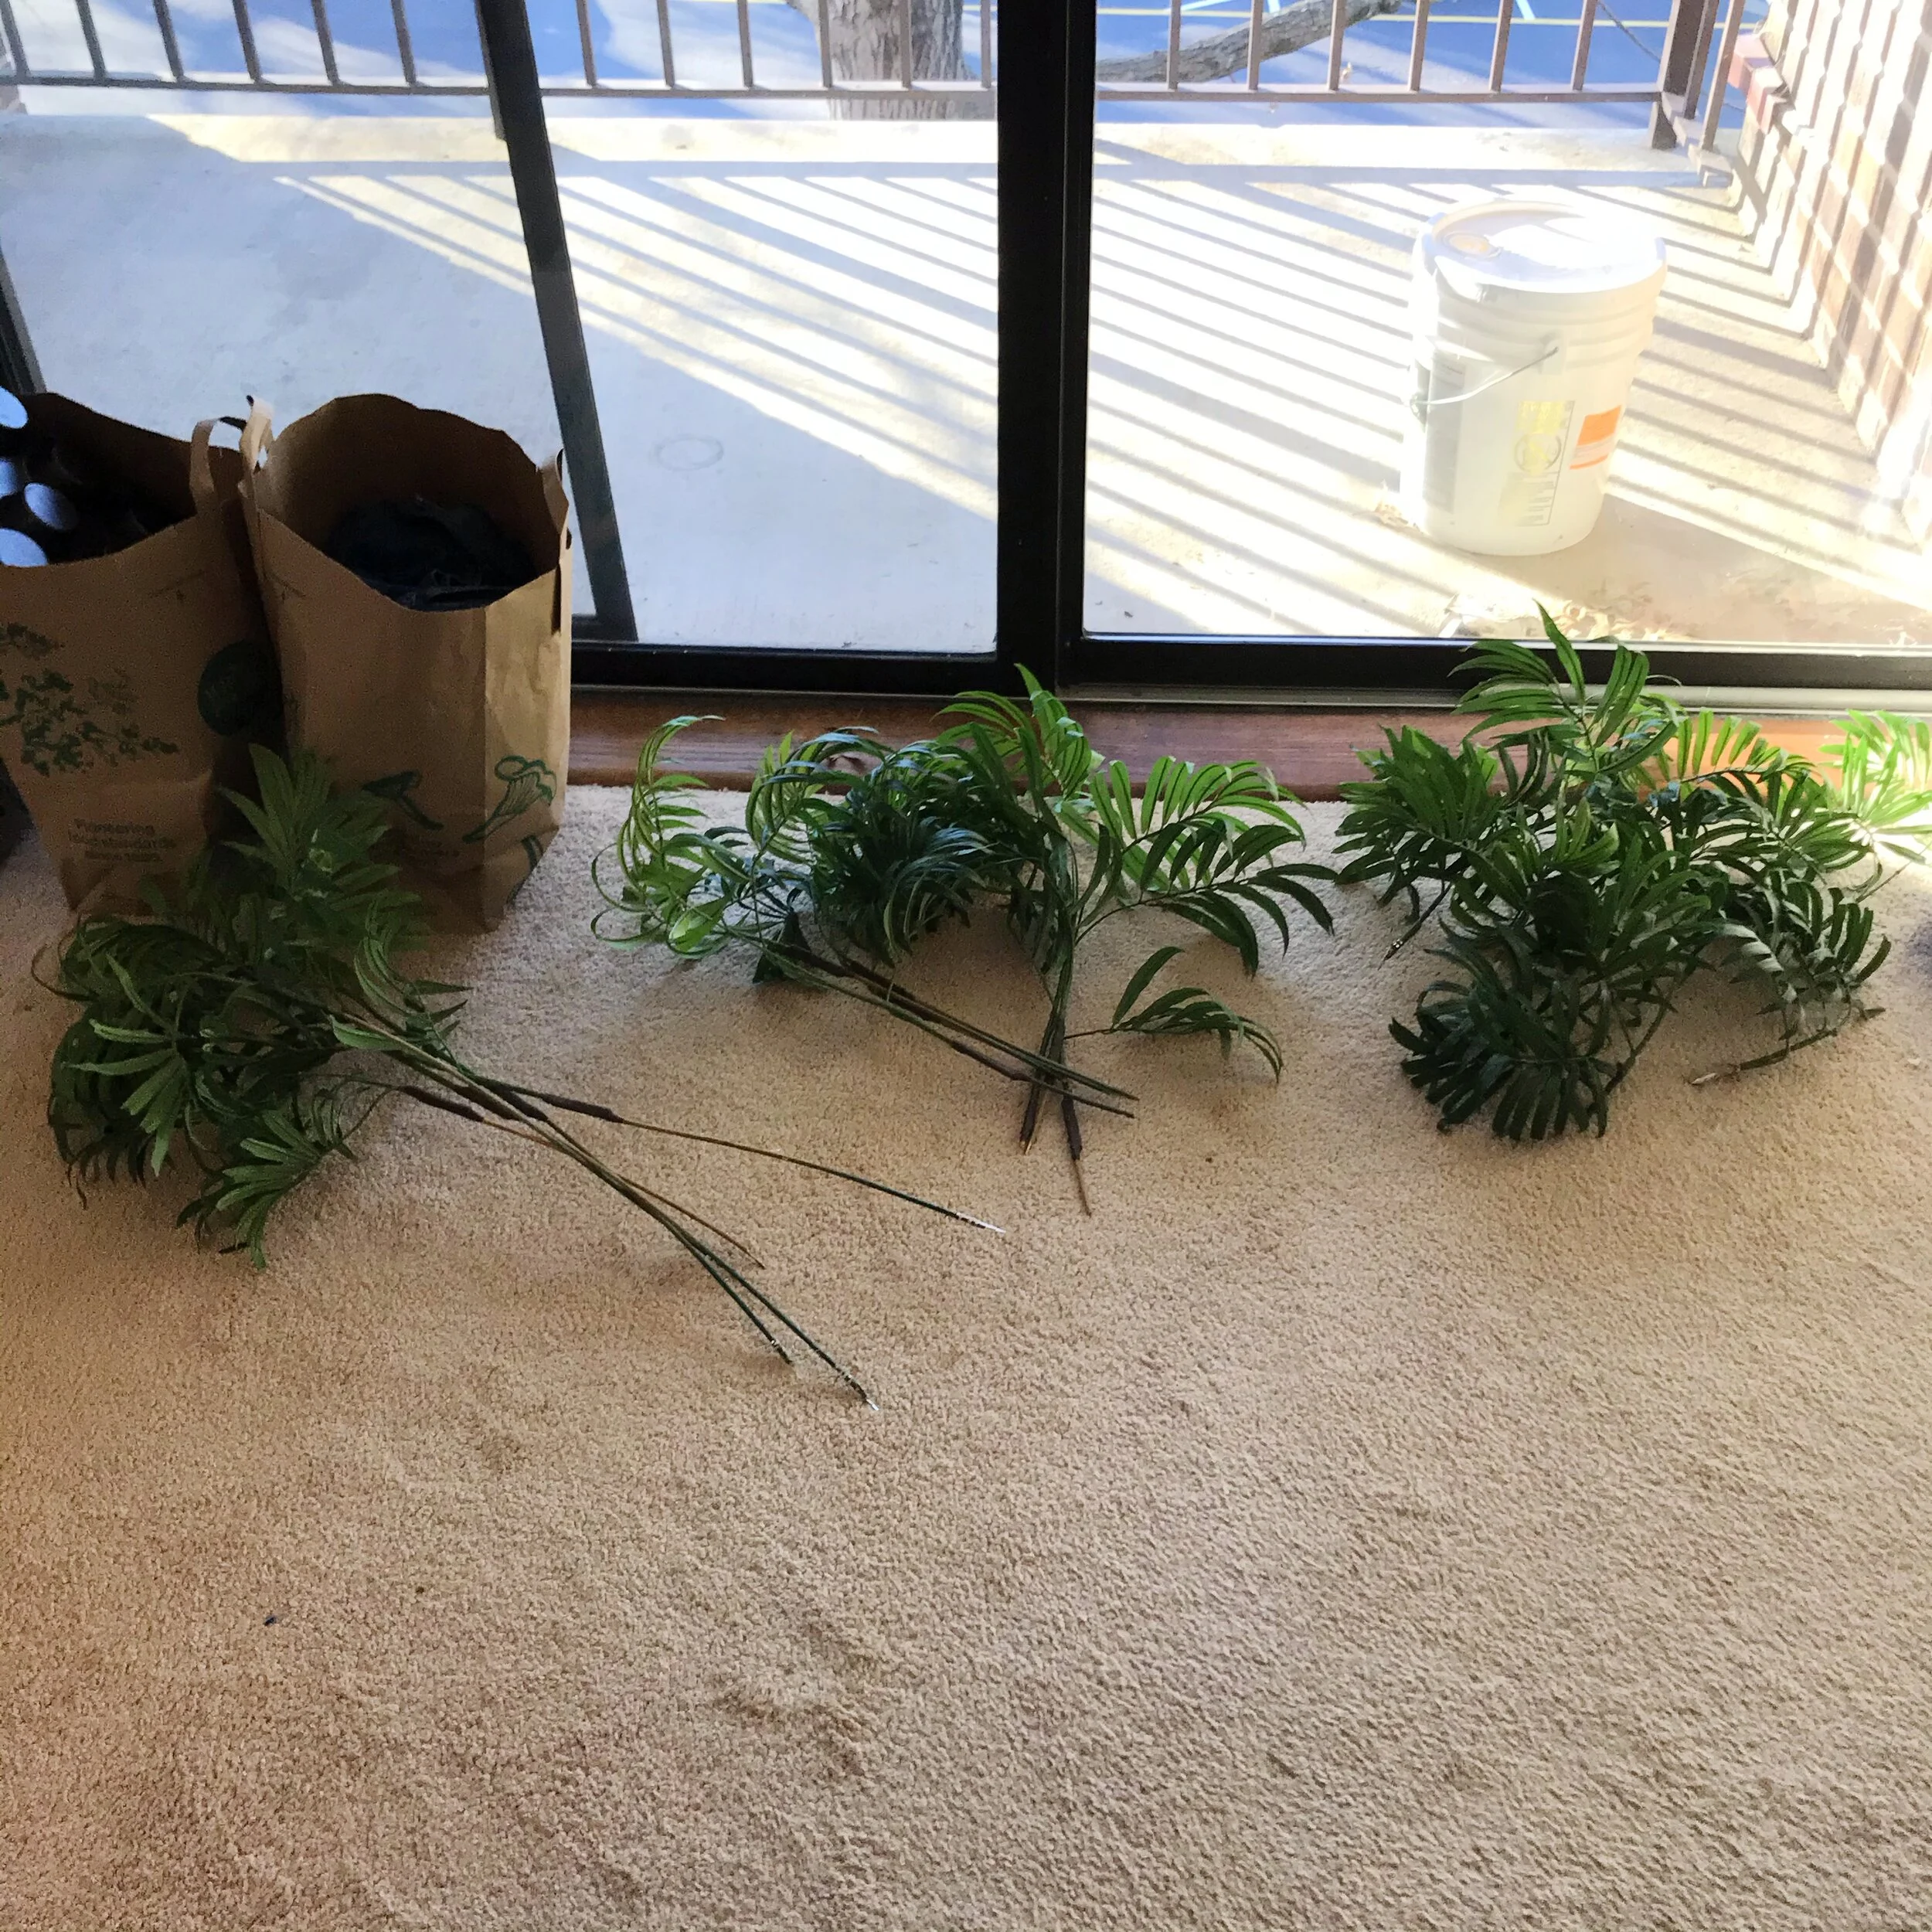
While that dried, I got to take everything apart. I started by taking out the individual fronds and organizing them by lengths.
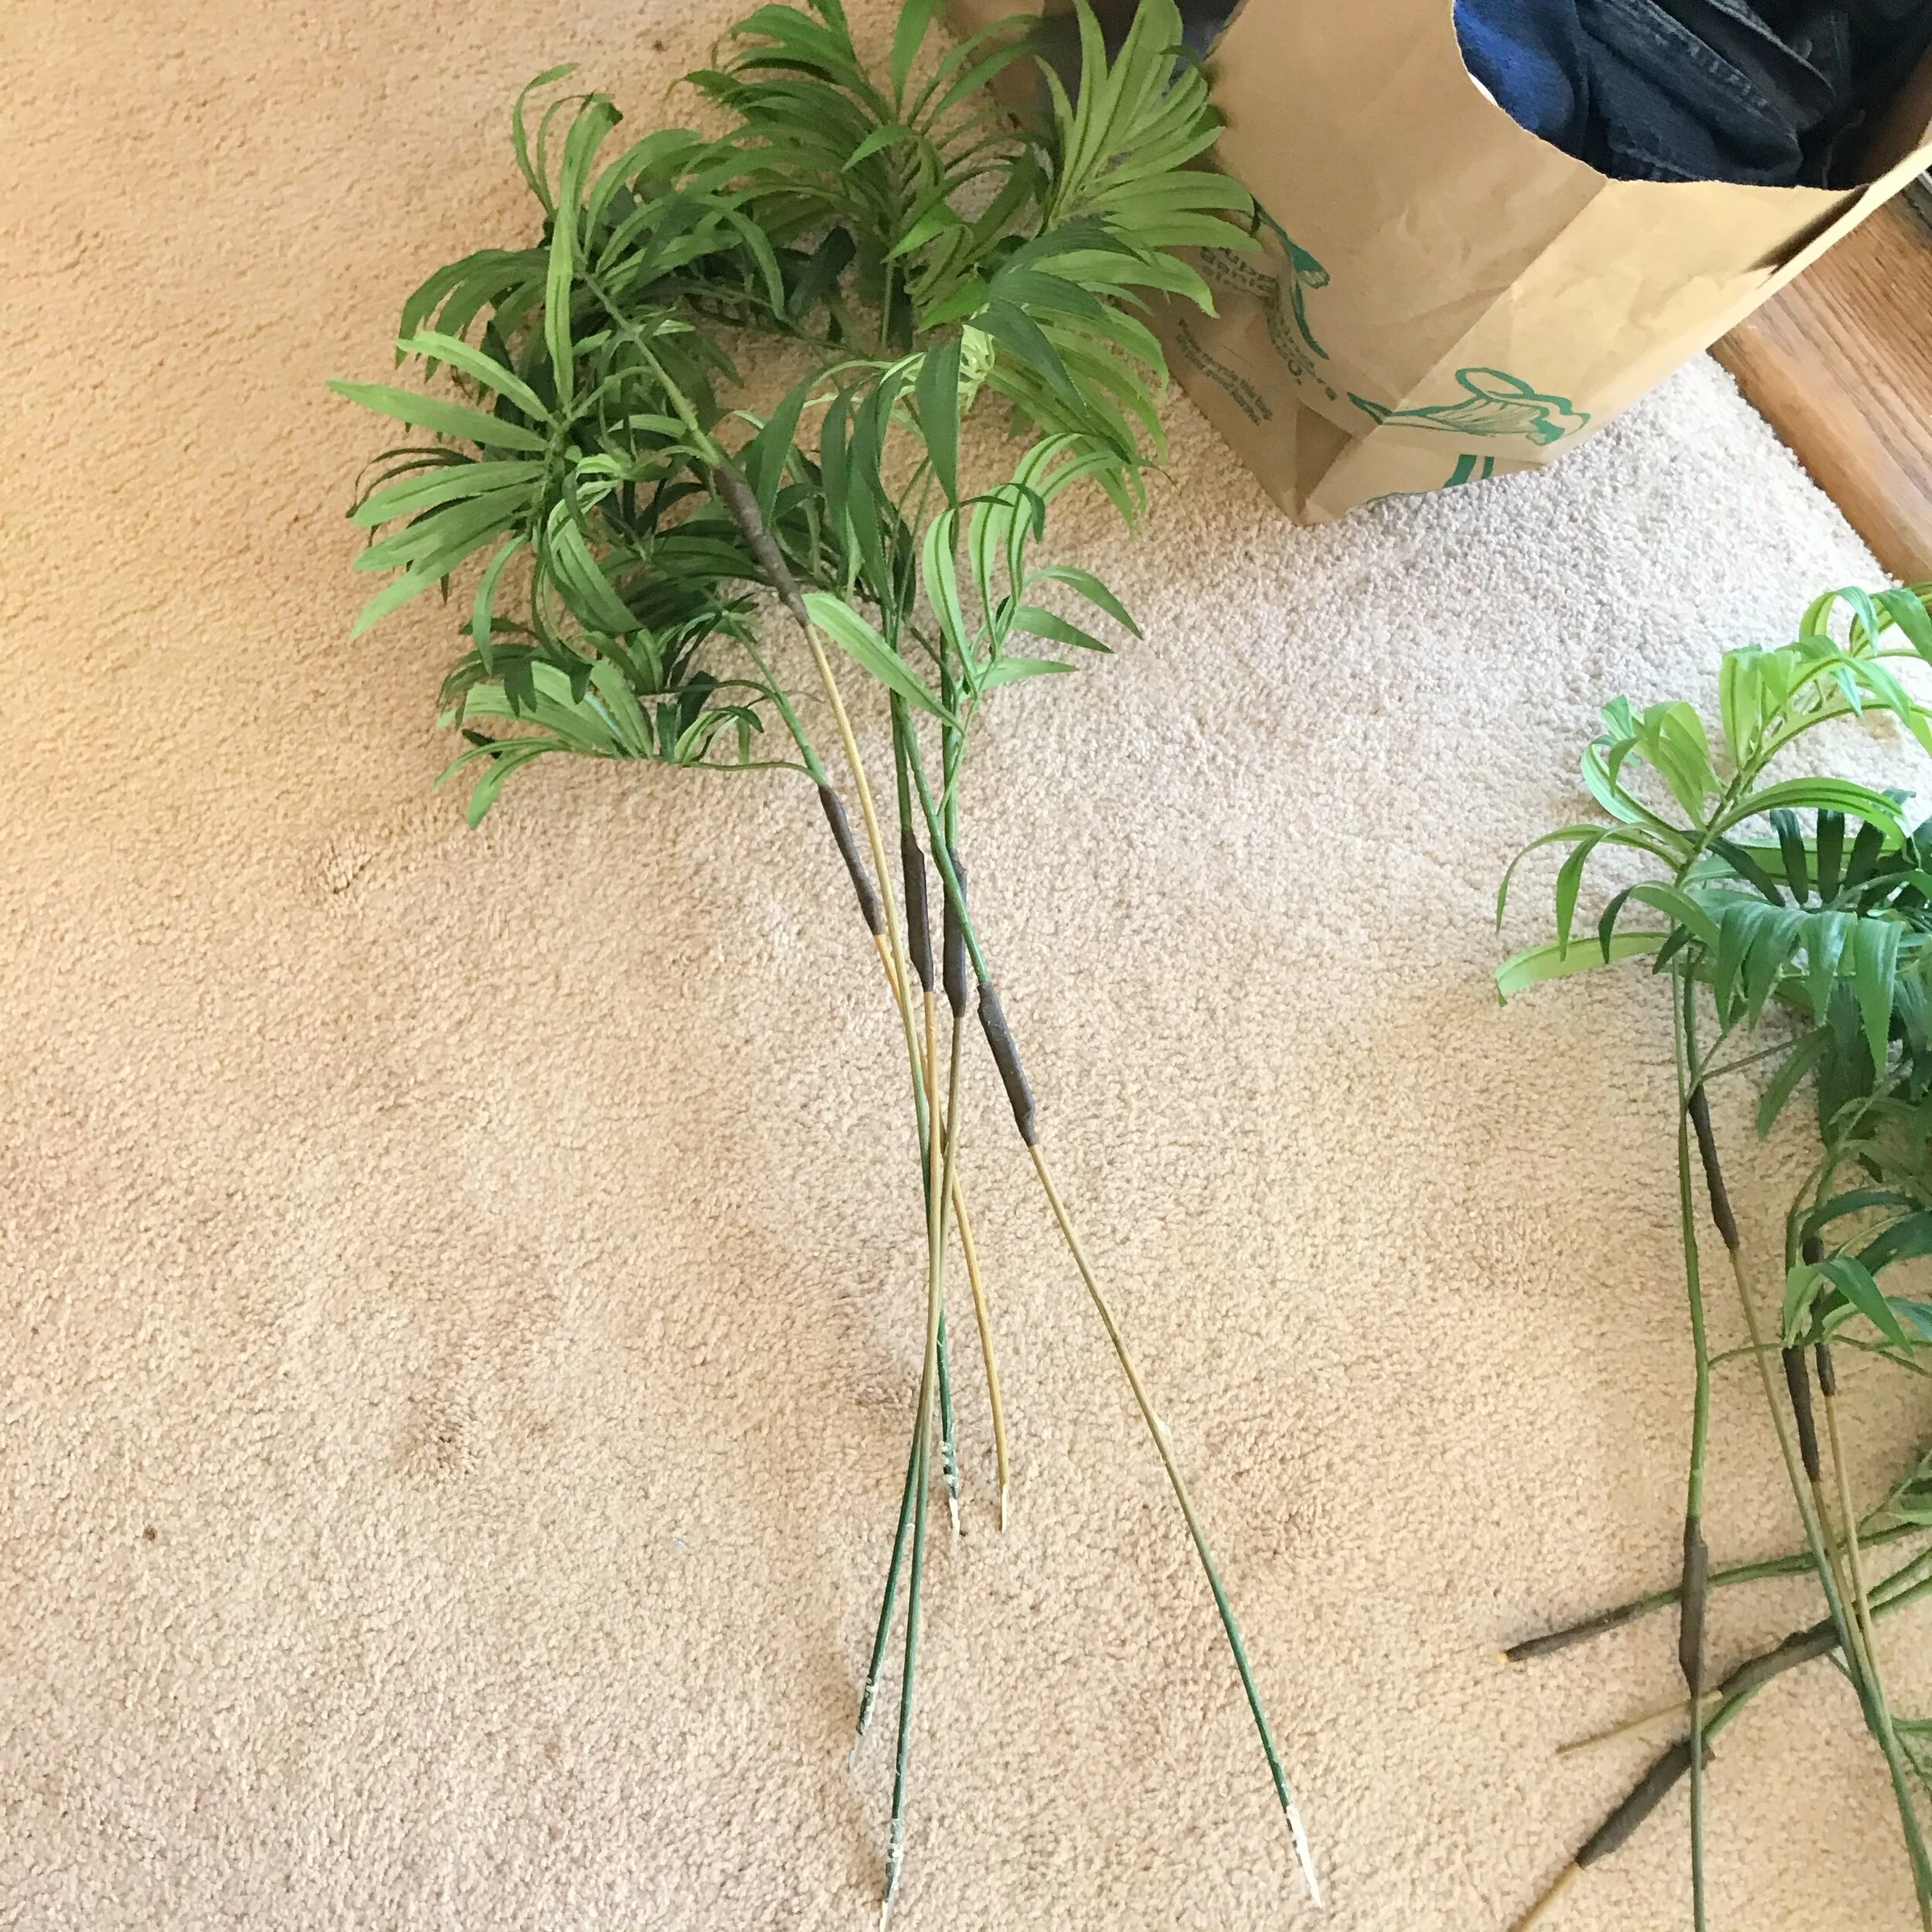
Long fronds
Medium length fronds
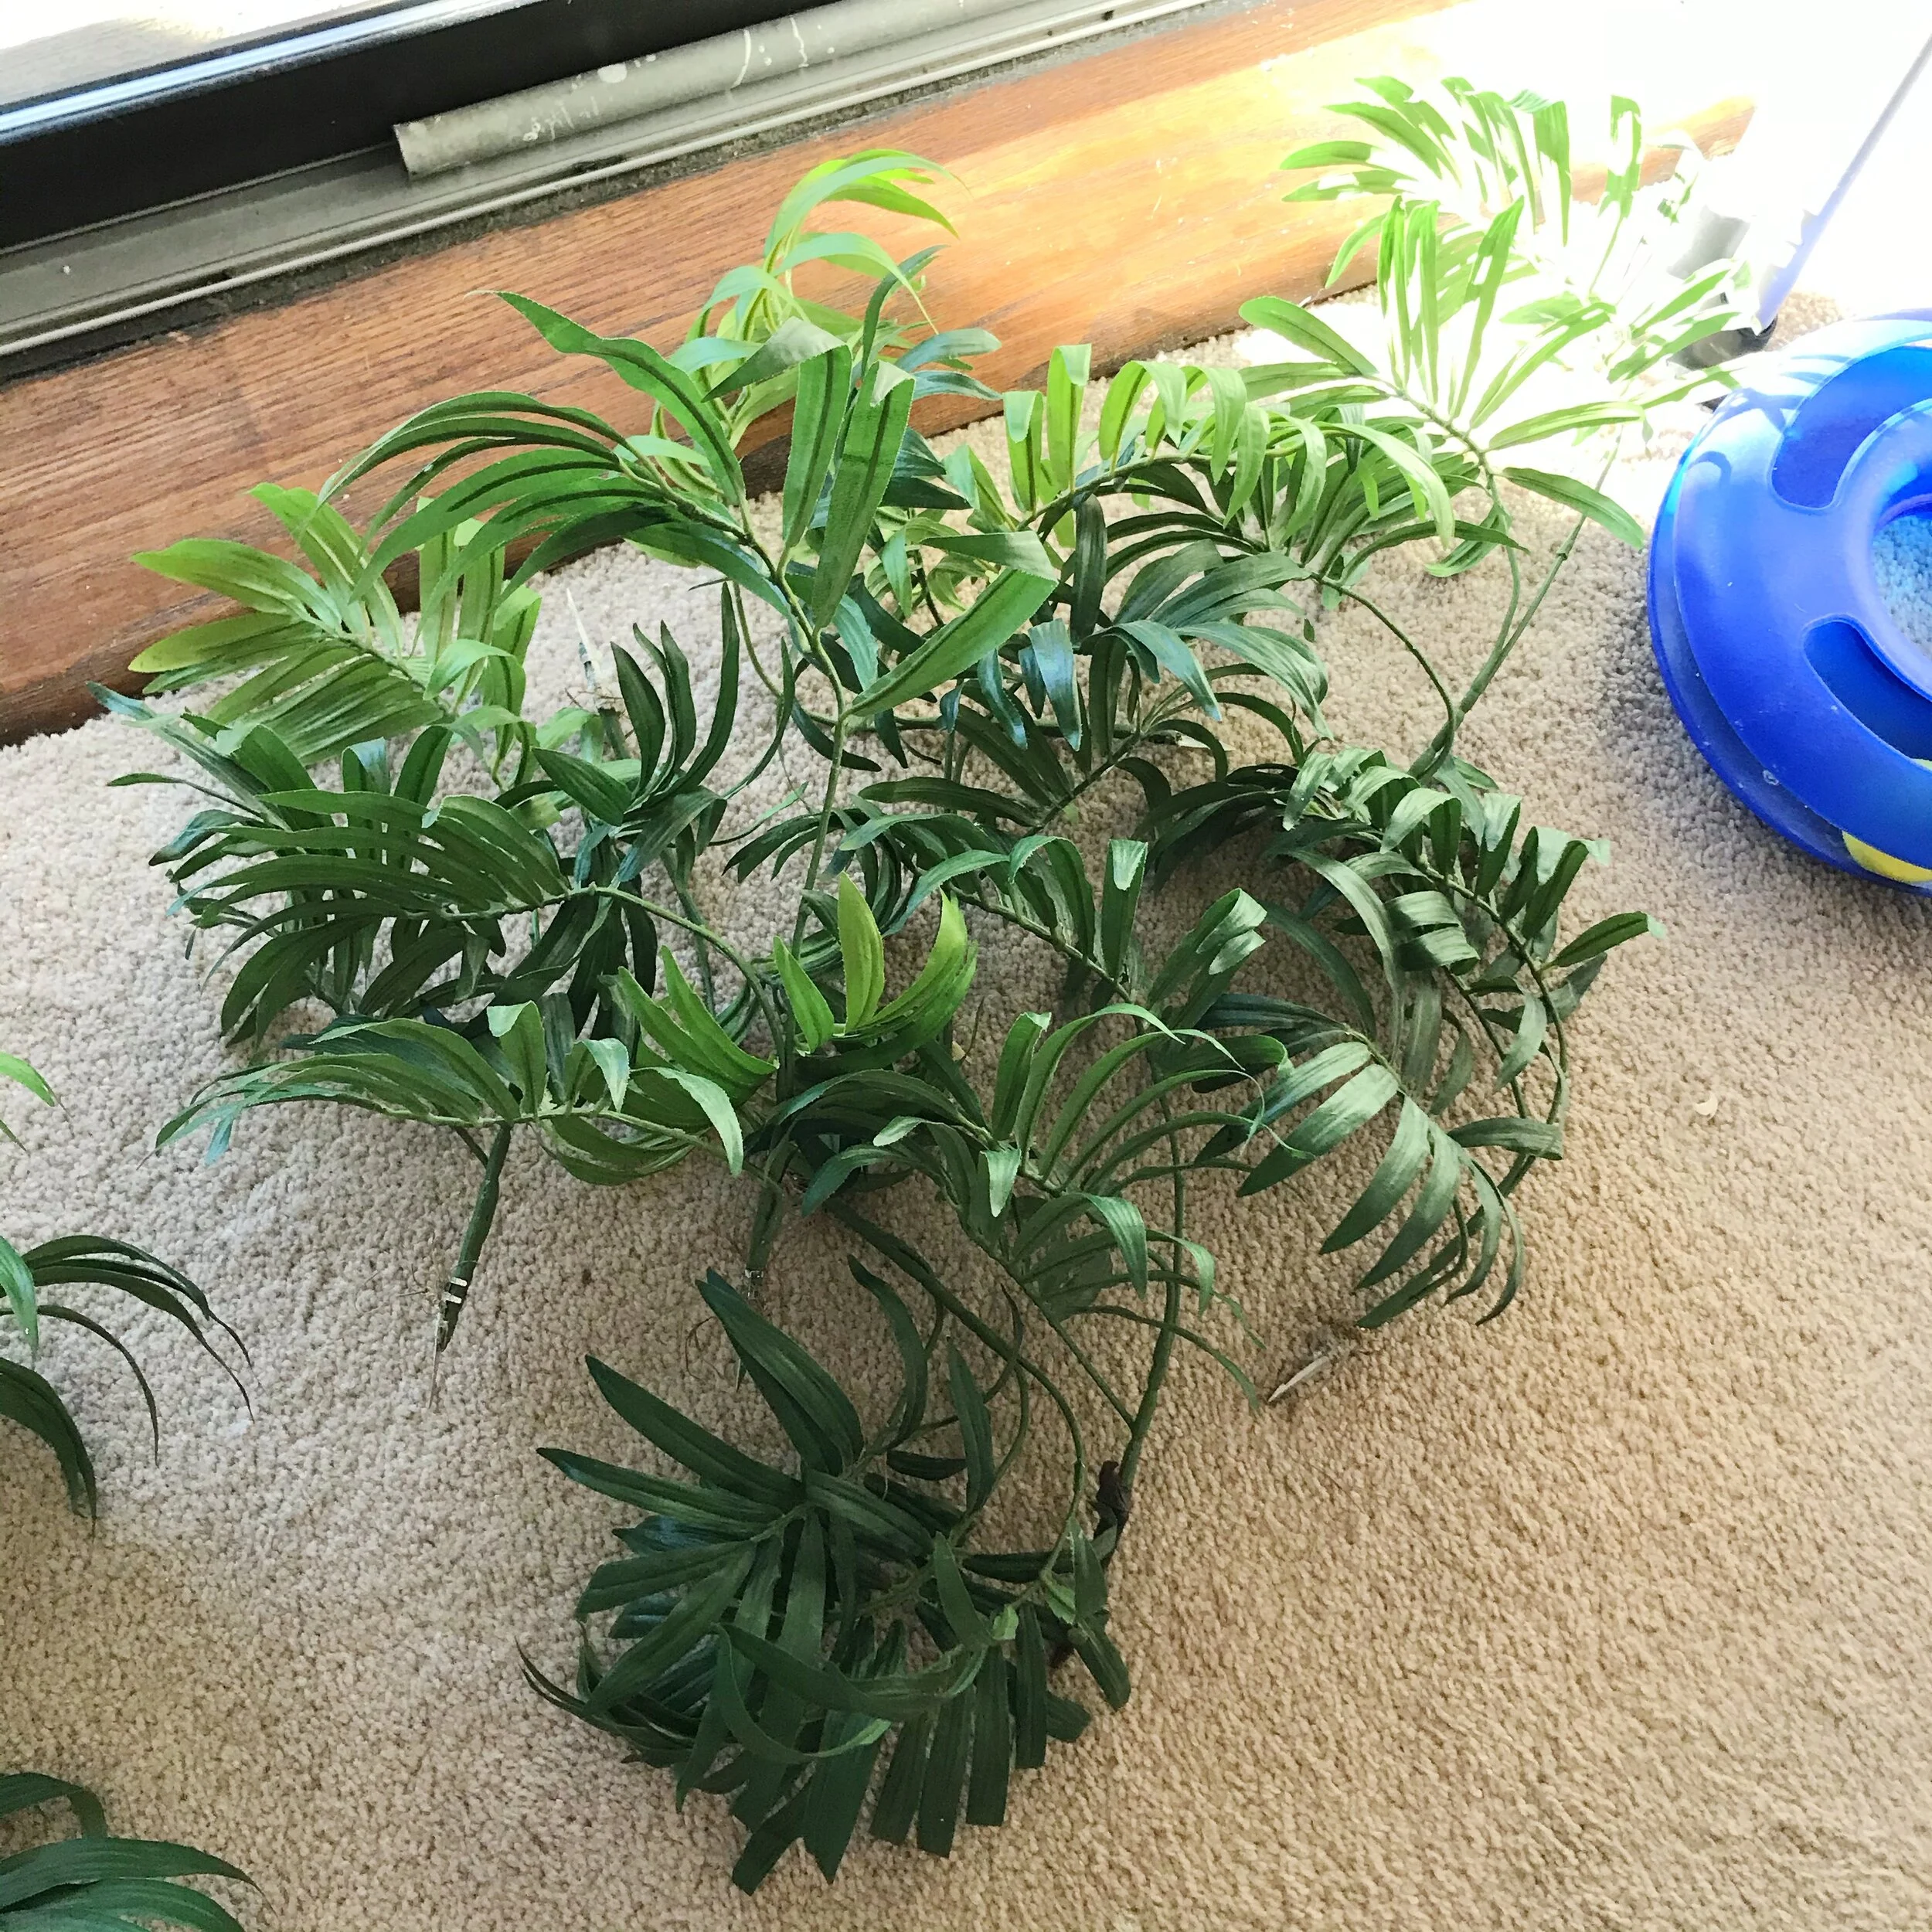
And a TON of short fronds
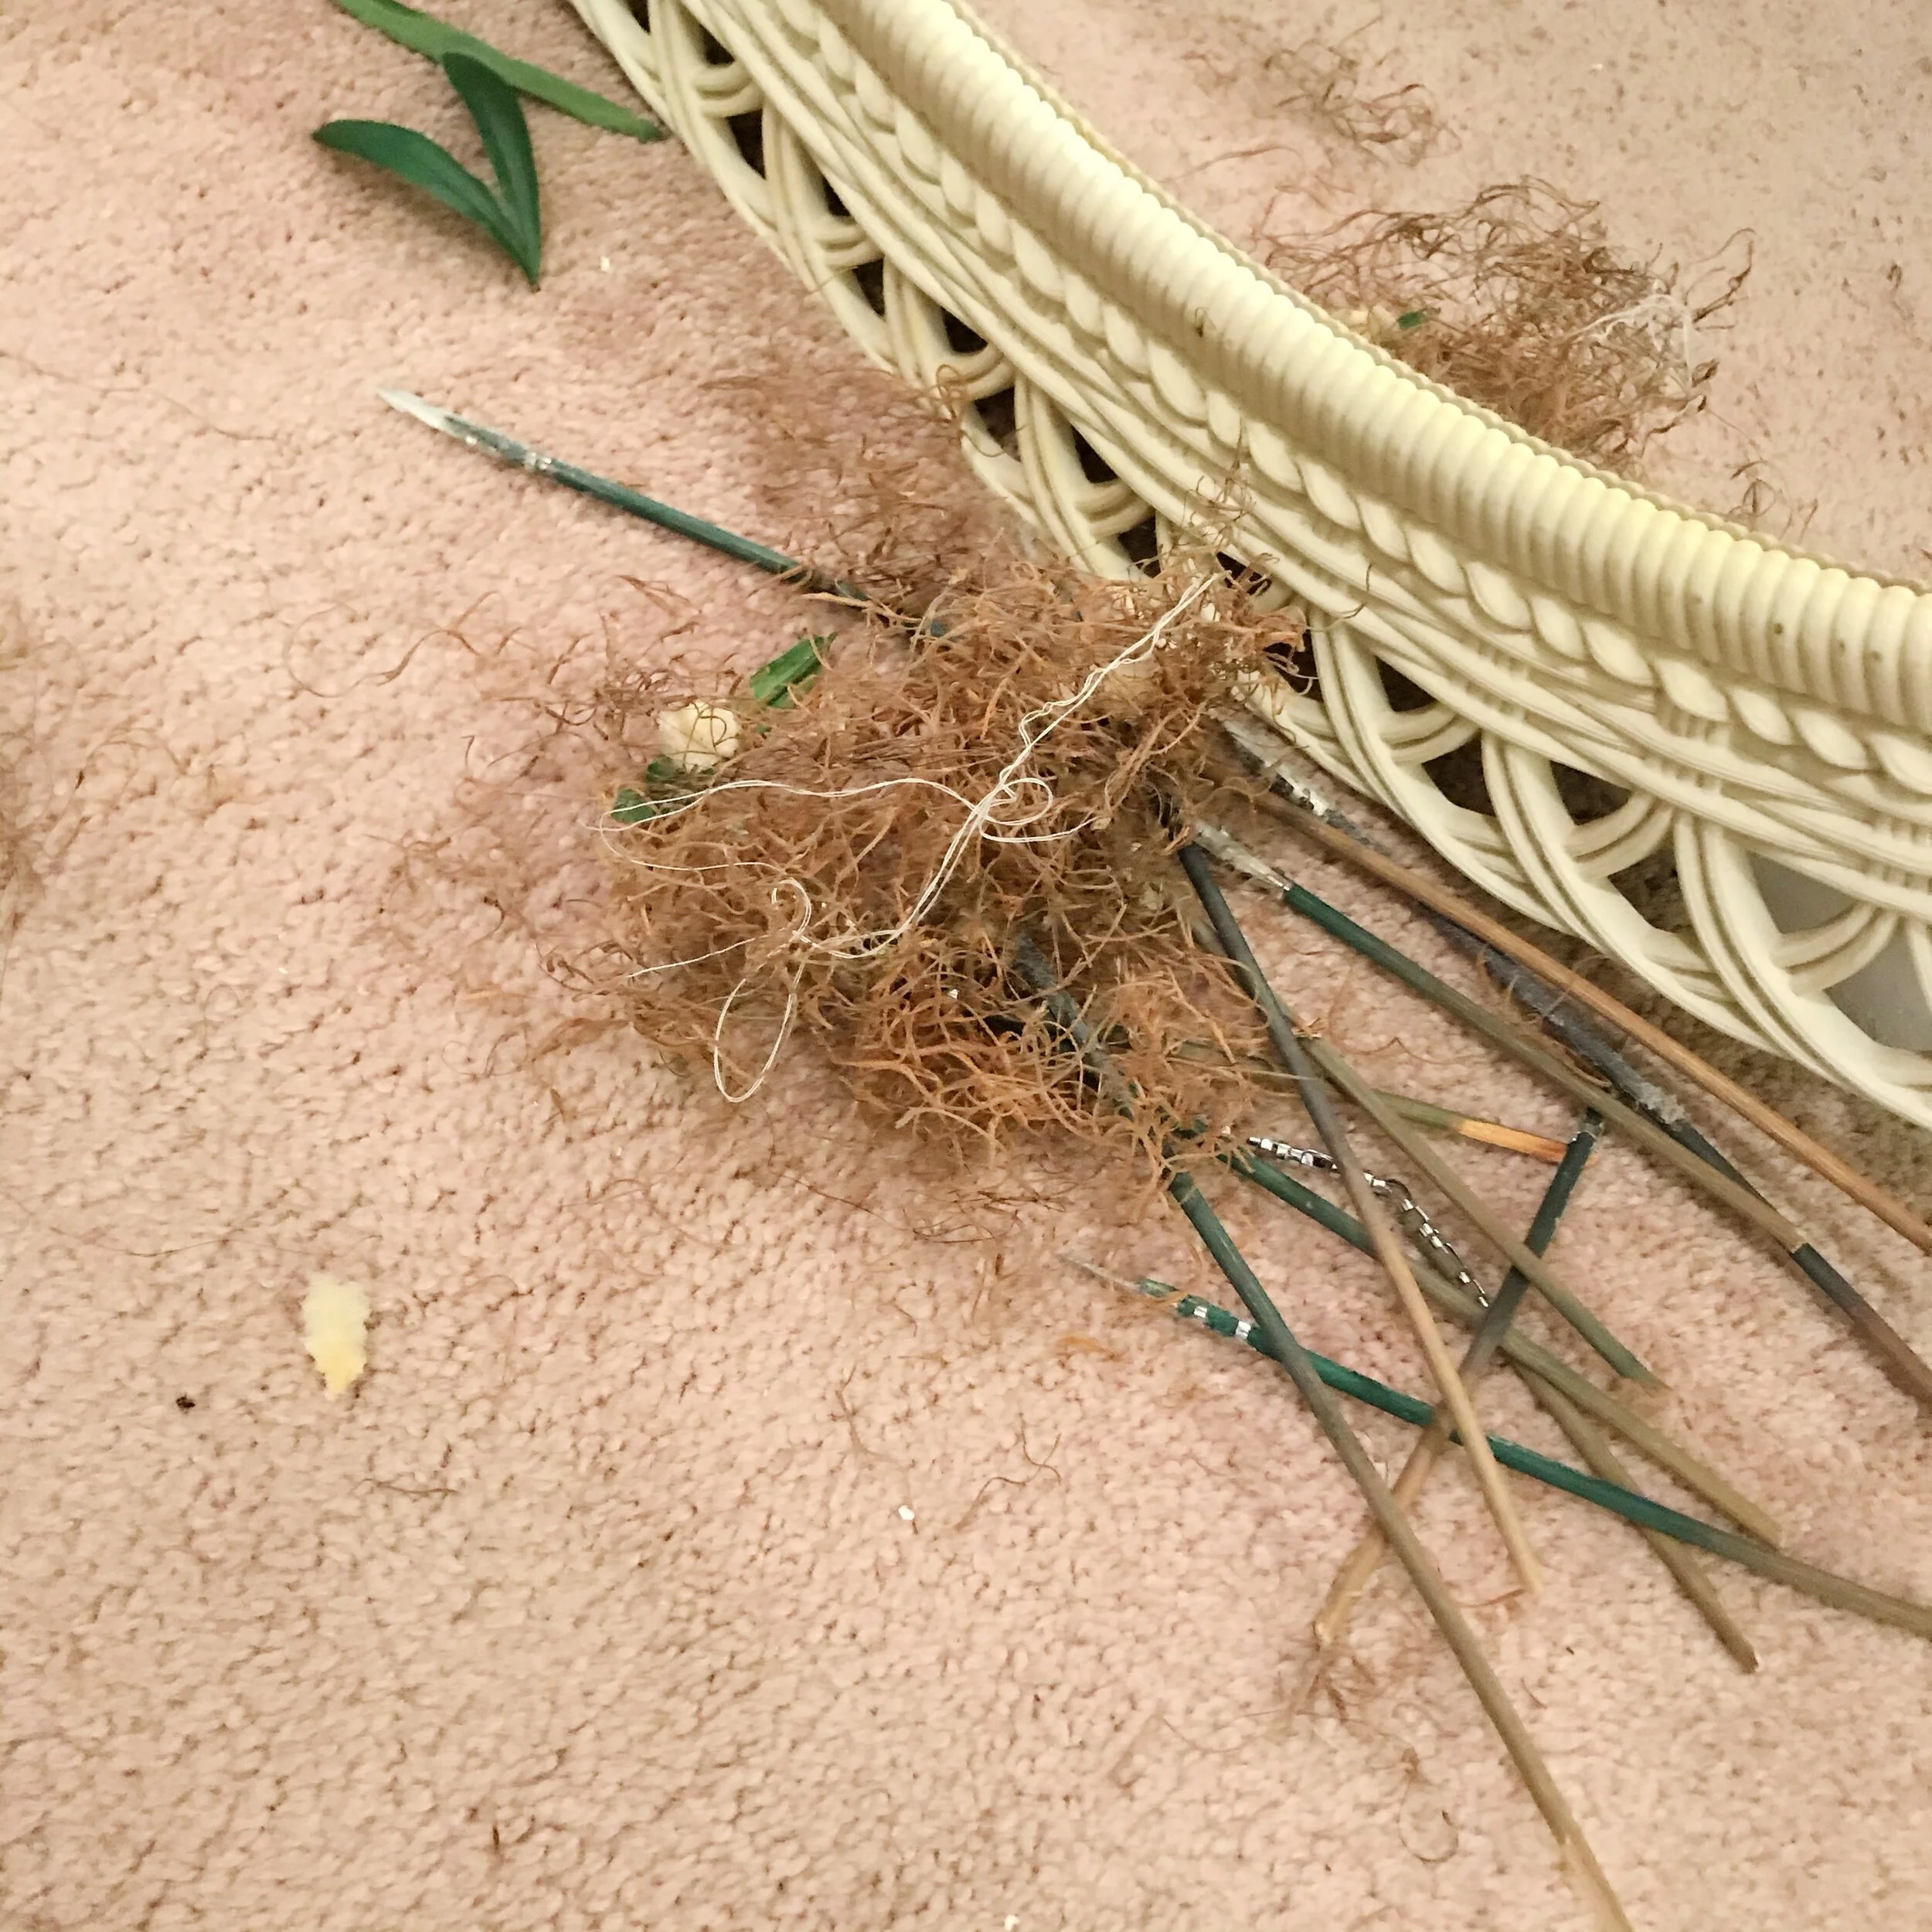
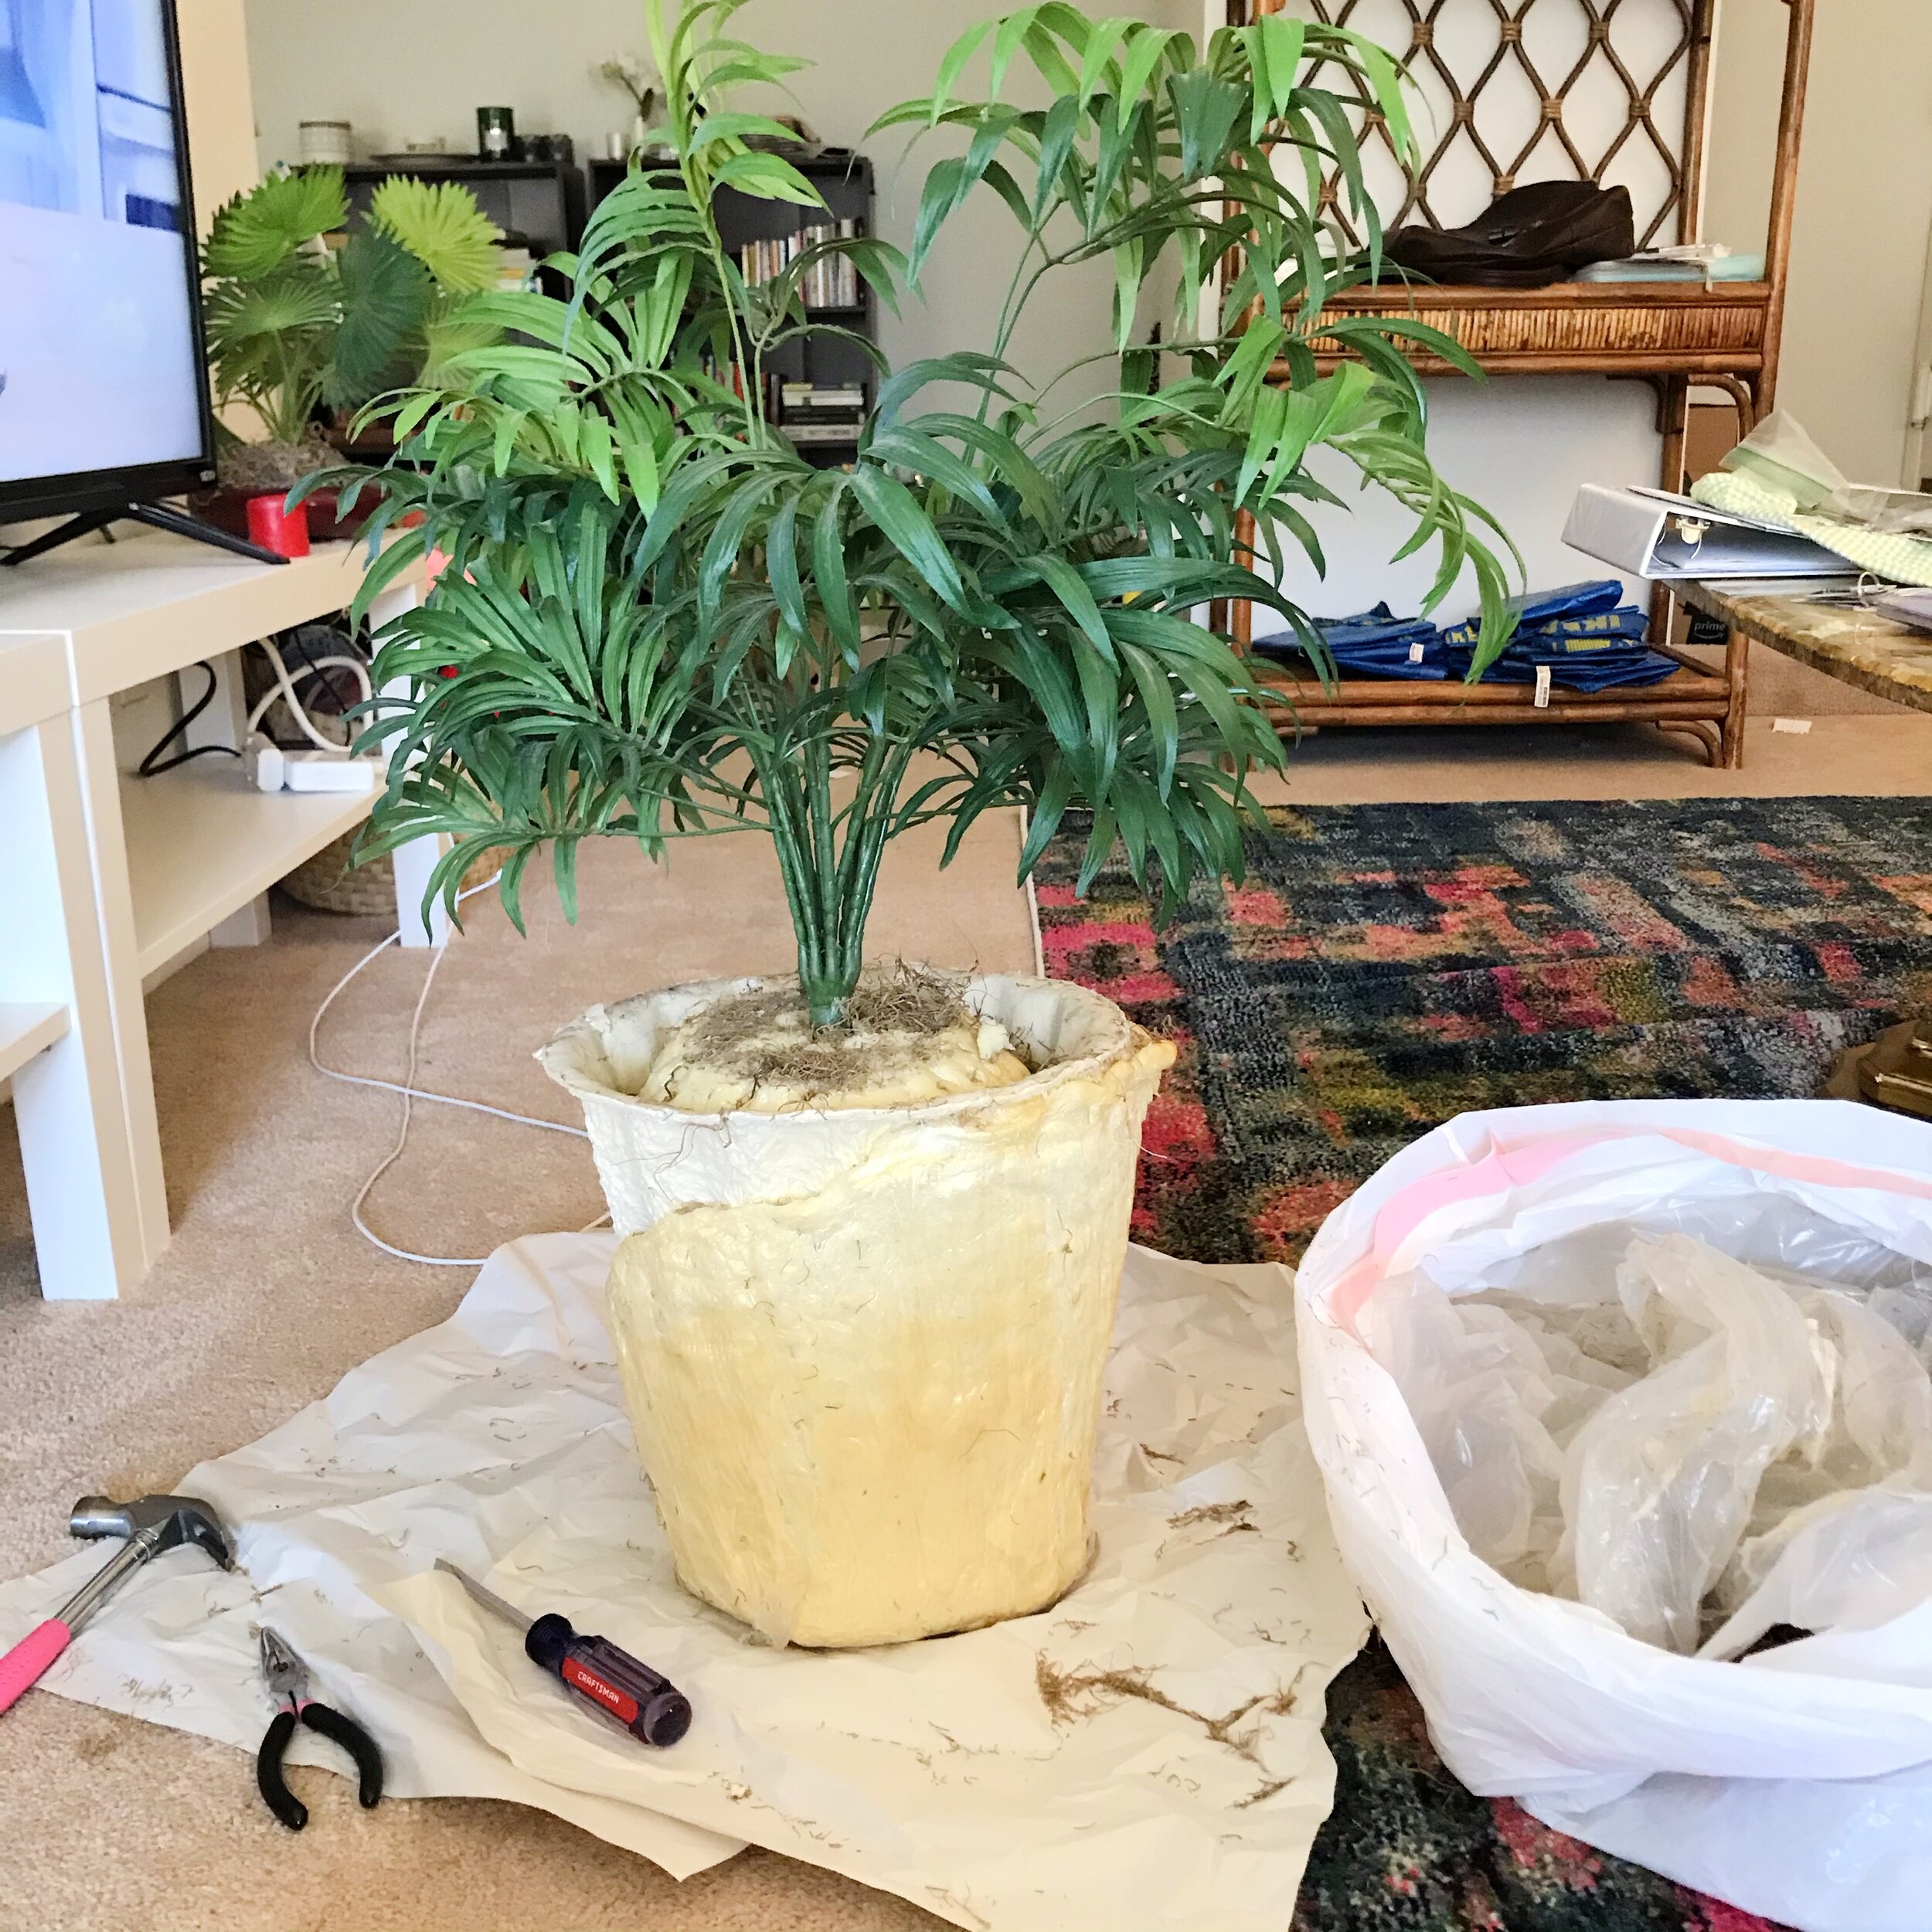
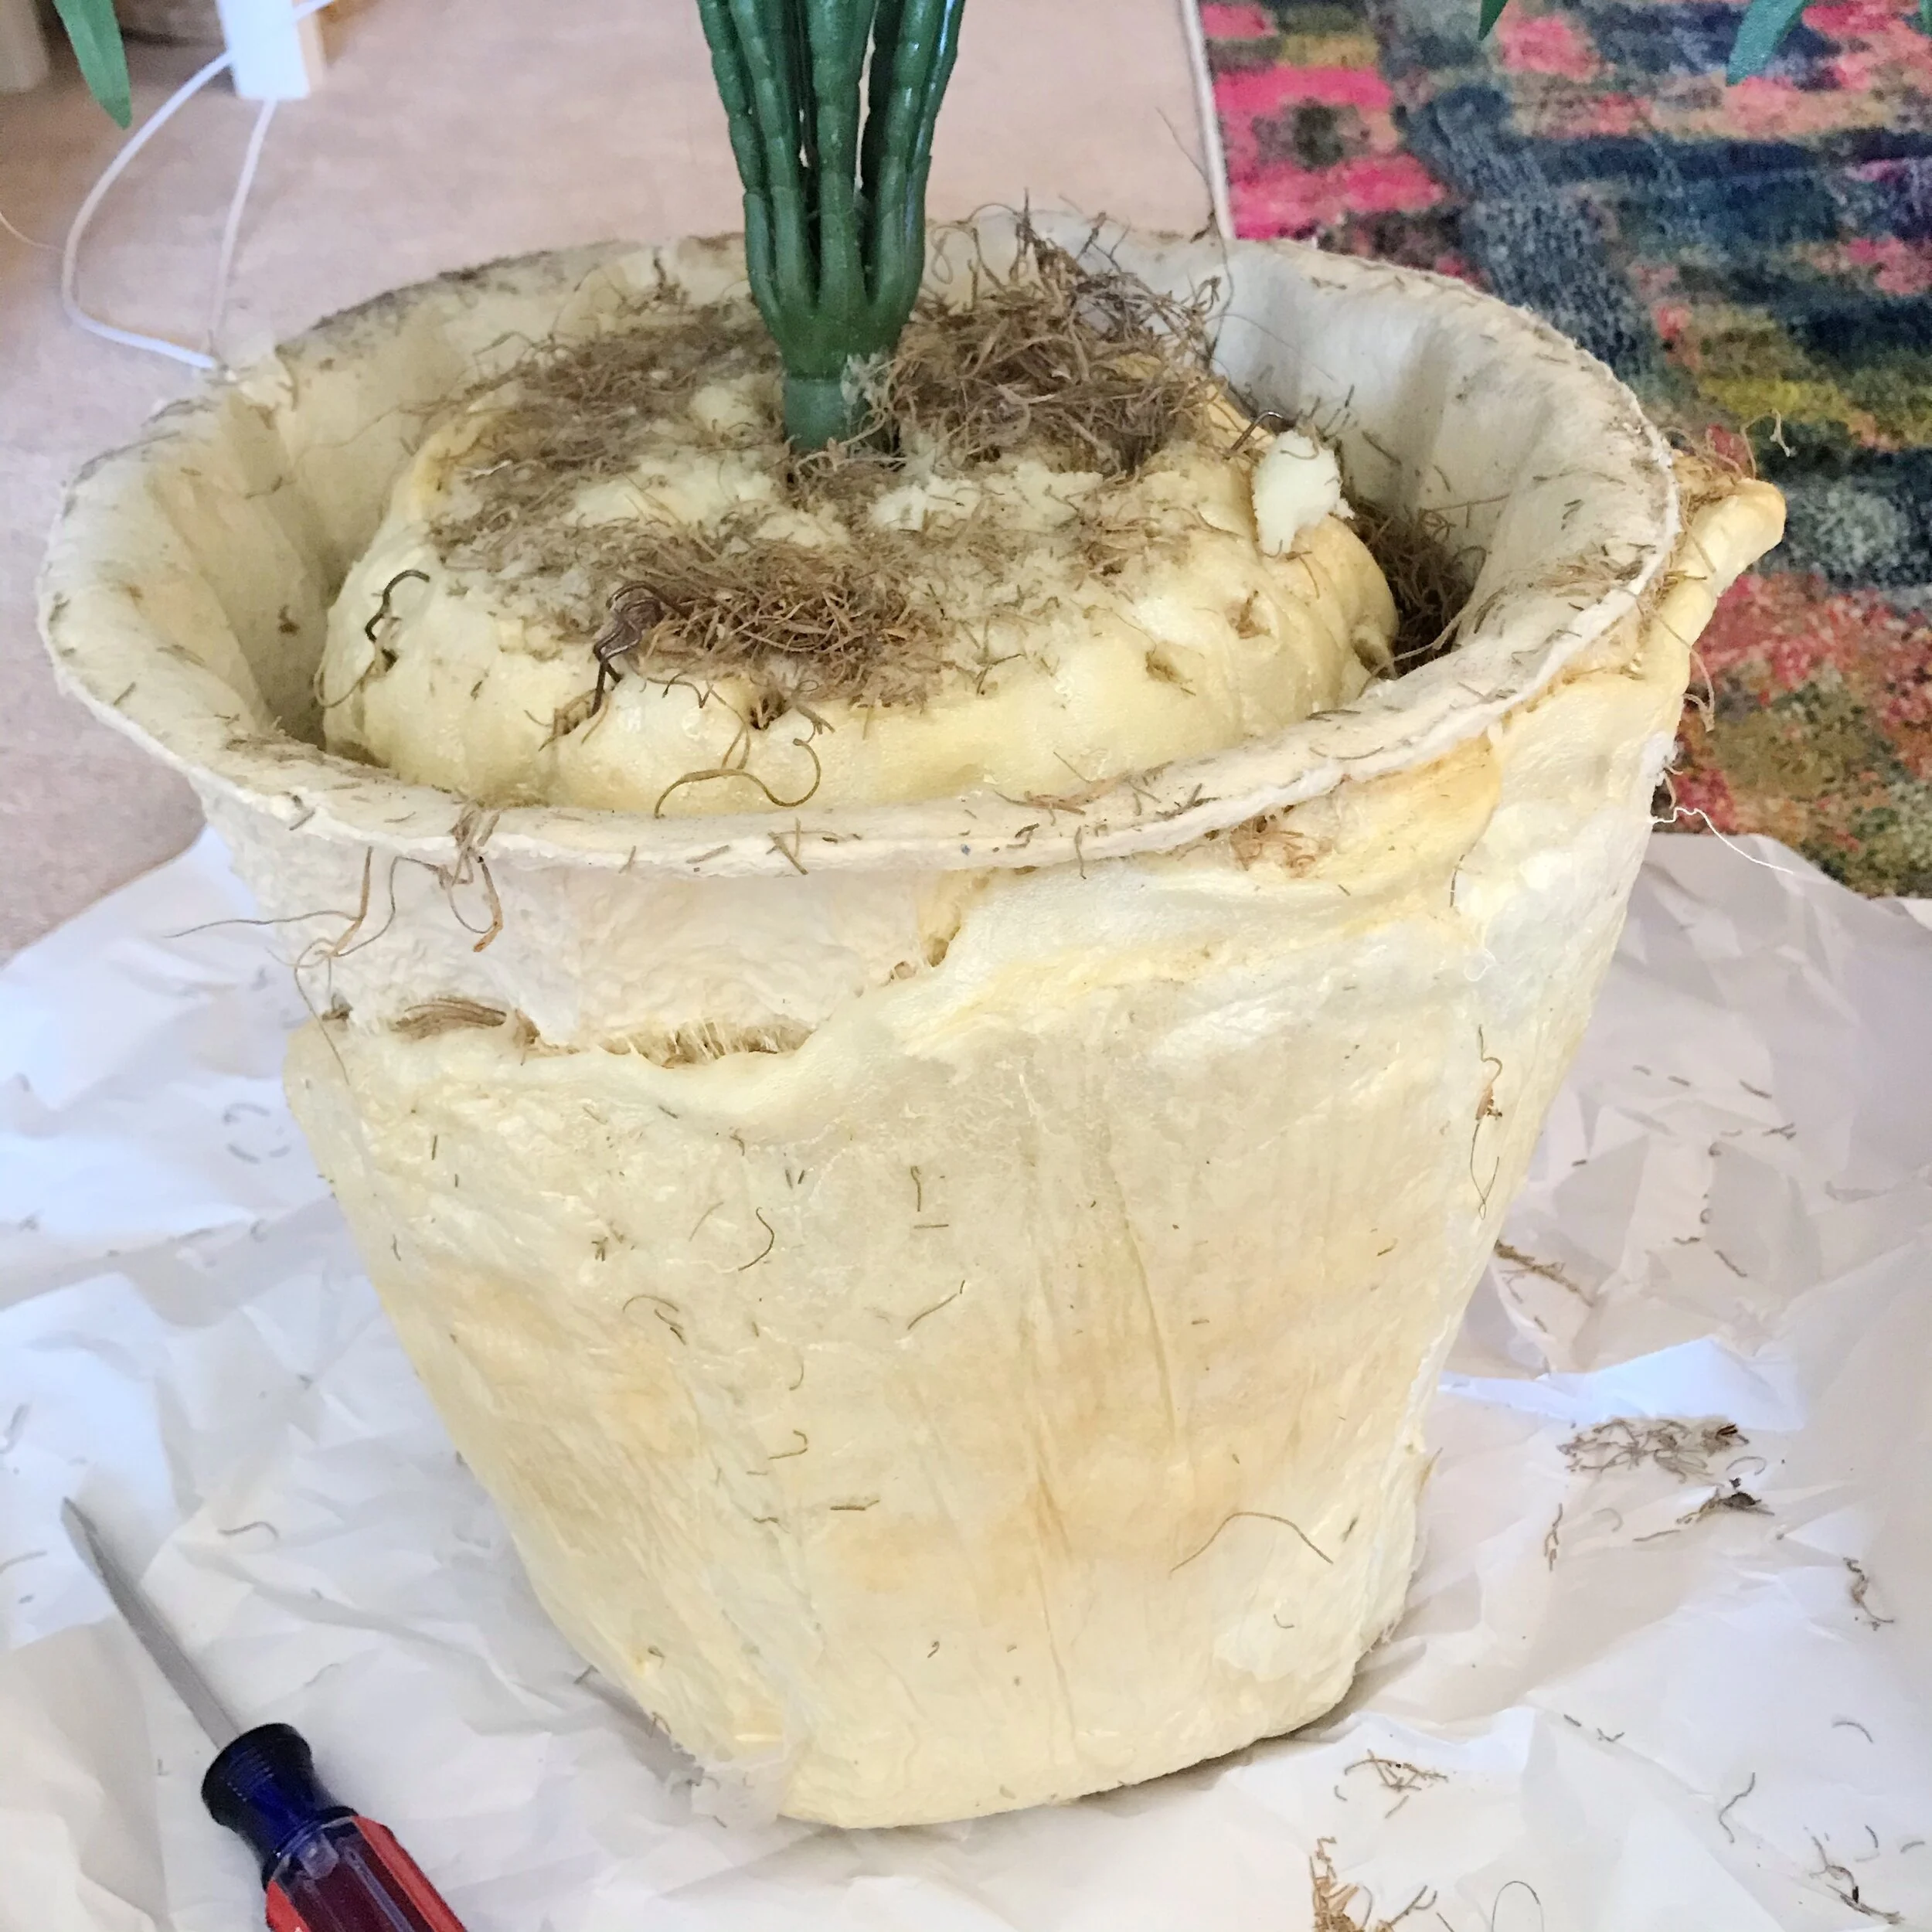
I was left with the foam base and then one connected bunch of fronds embedded in the middle of the foam. I put down some paper, grabbed a trash bag and some tools, and assessed.
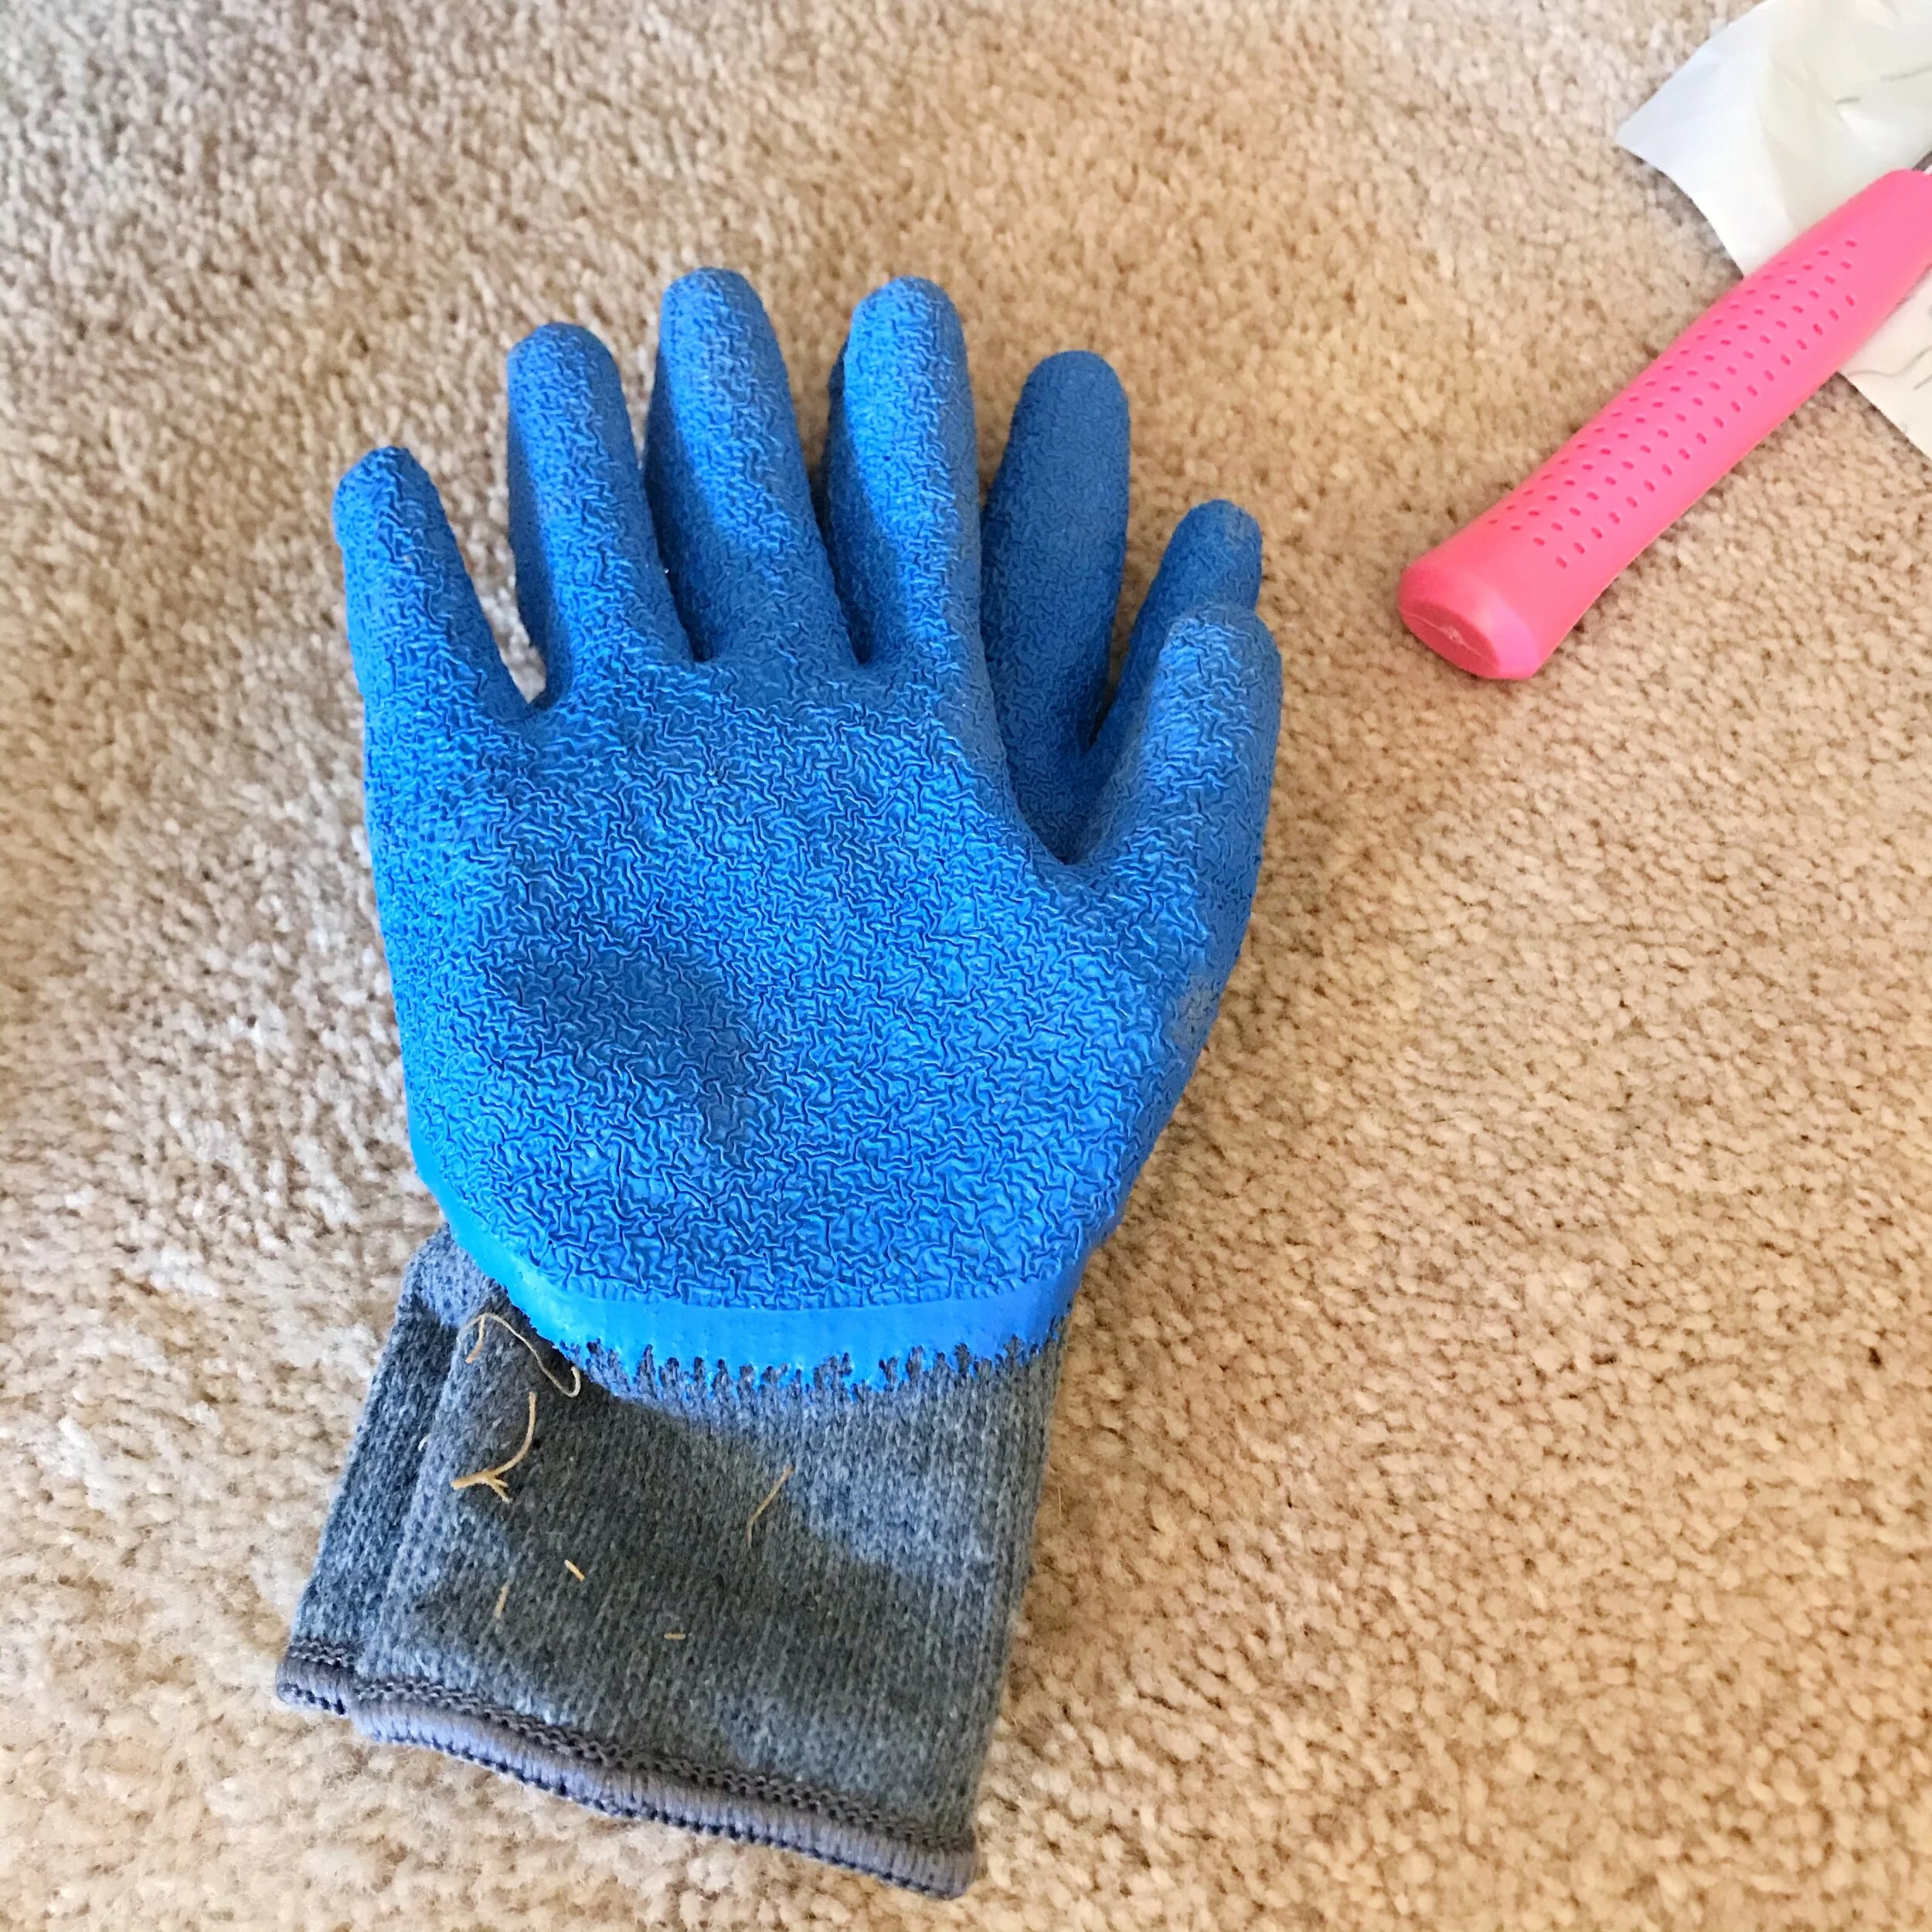
I also grabbed my work gloves because I didn’t want to get stuff all over my hands or irritate my skin from the foam or fronds or old moss. These were also great for pulling out the fronds.
I grabbed my screwdriver and started poking around at the base of the frond bunch:
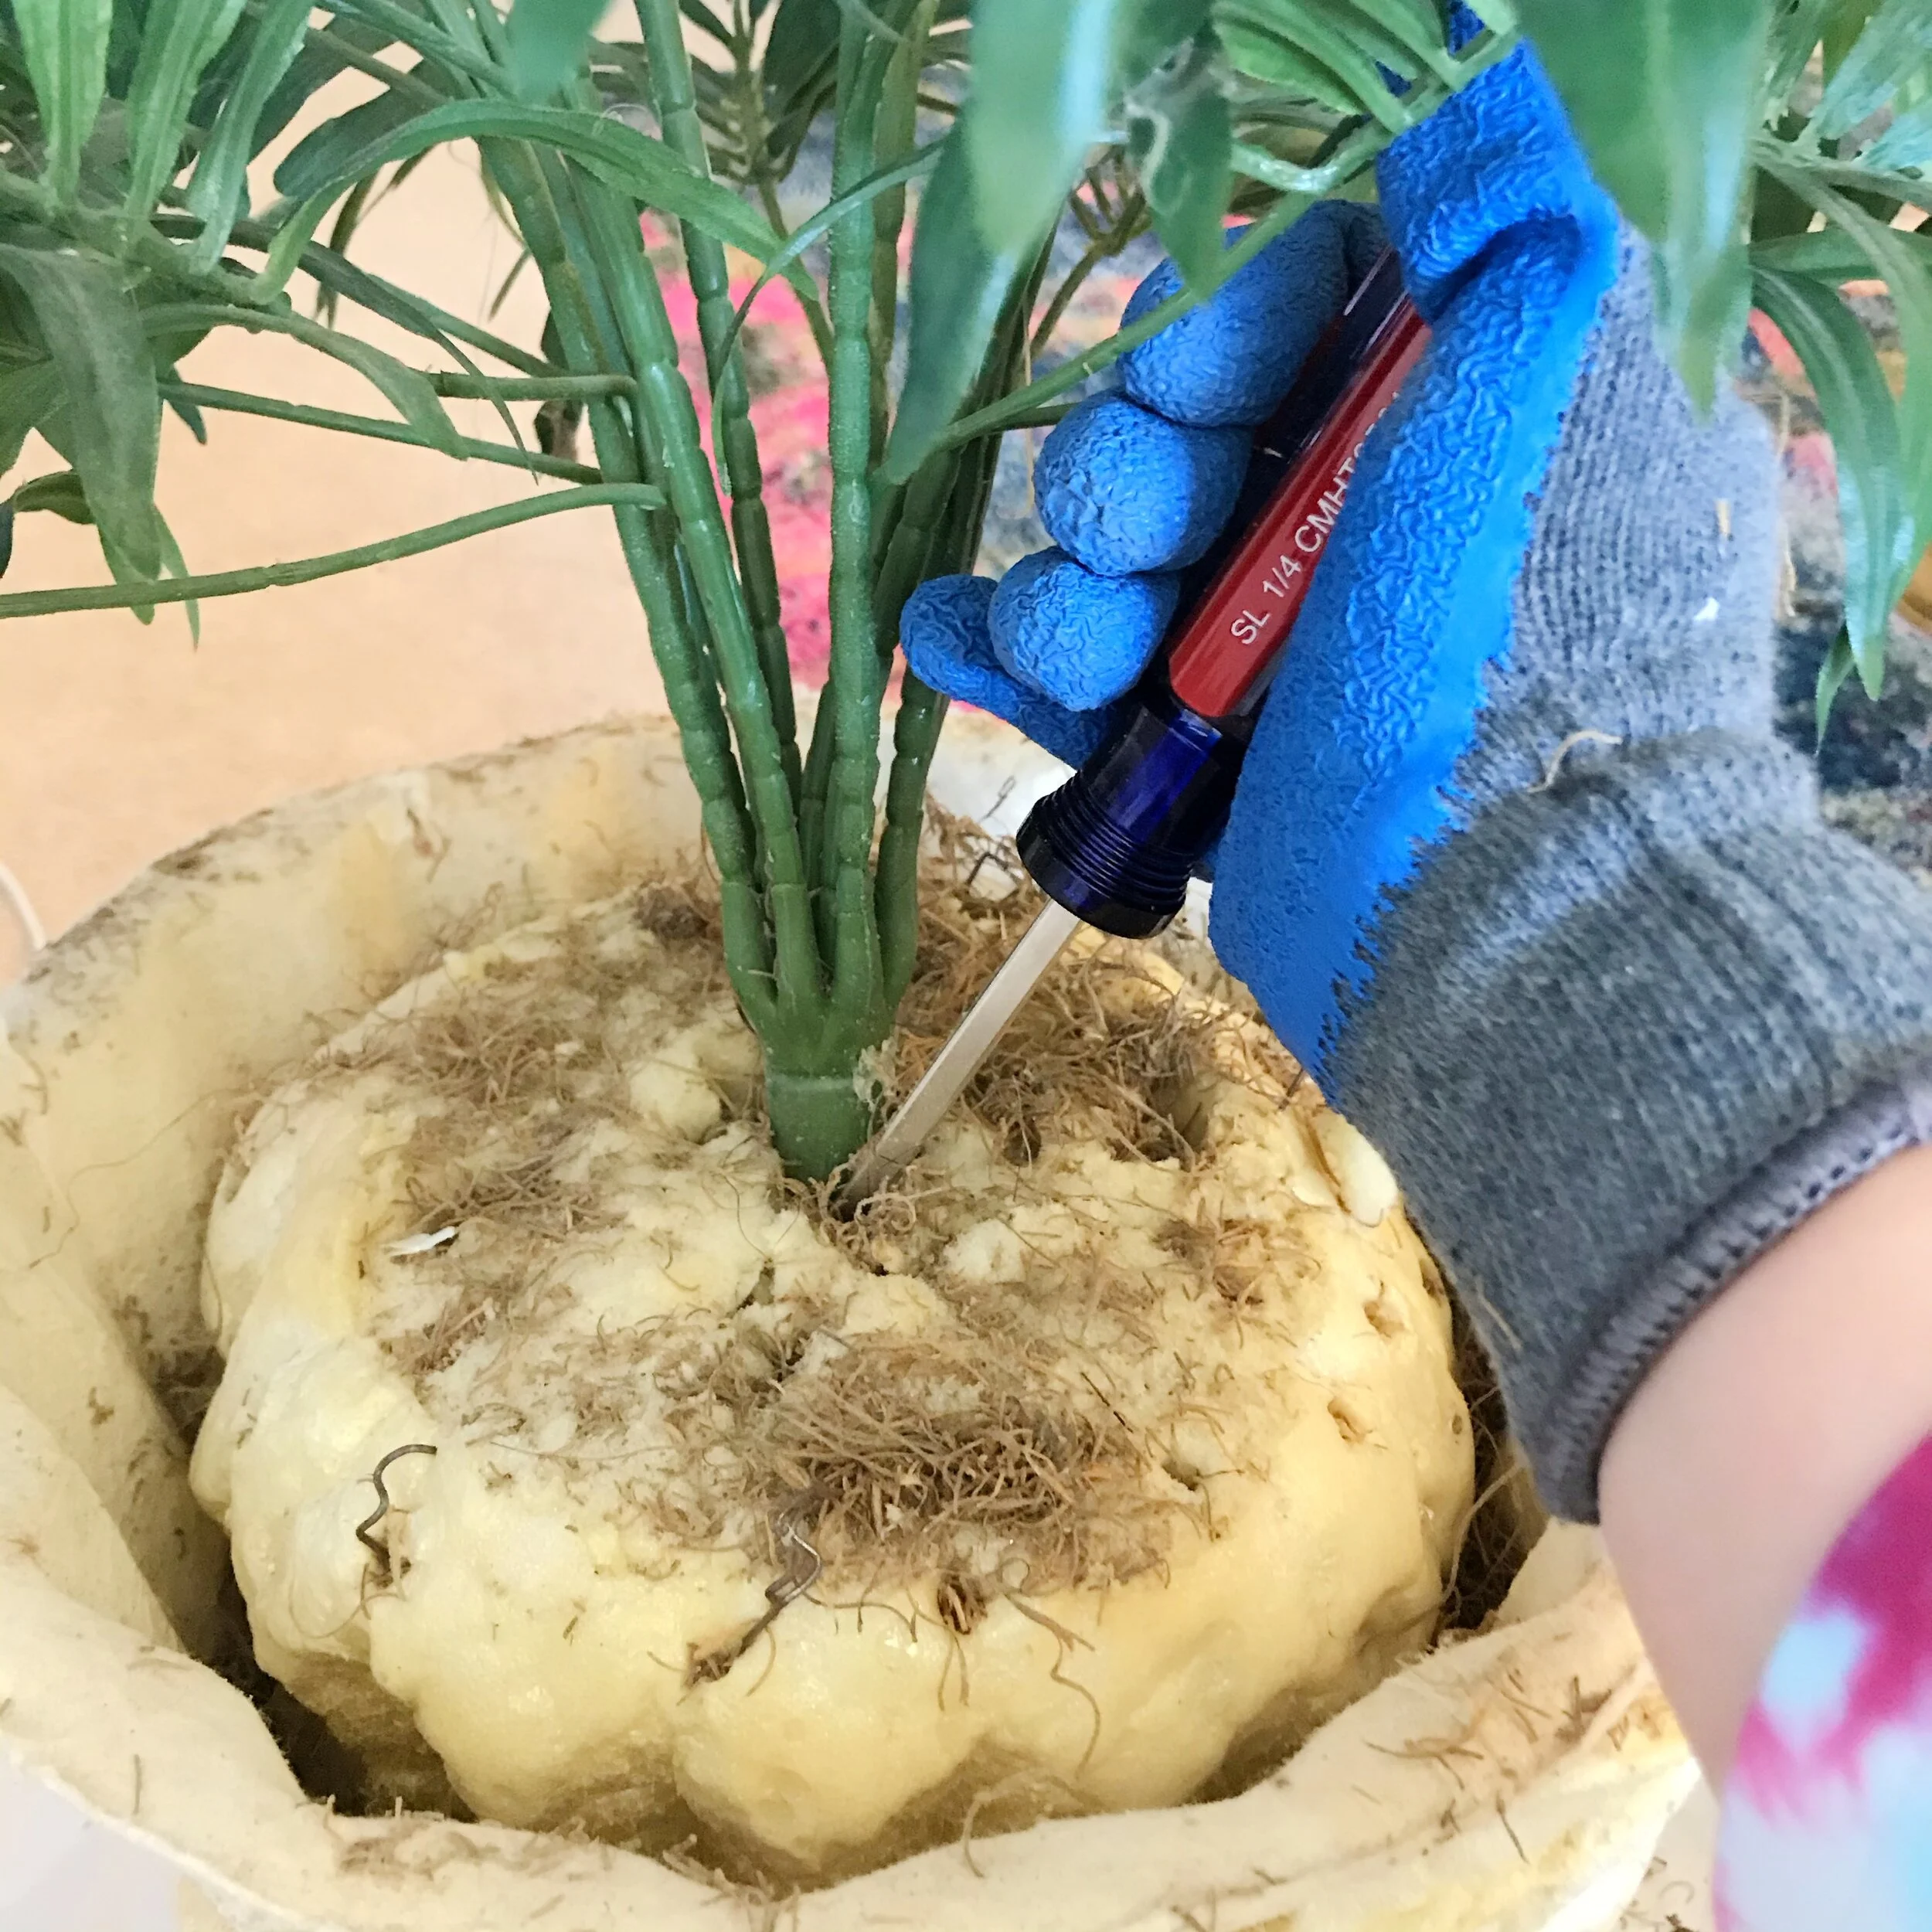
Luckily, the foam was really easy to pick away at and within a minute, I was able to get the frond bunch out with almost no effort. (I didn’t even need the pliers or hammer!)
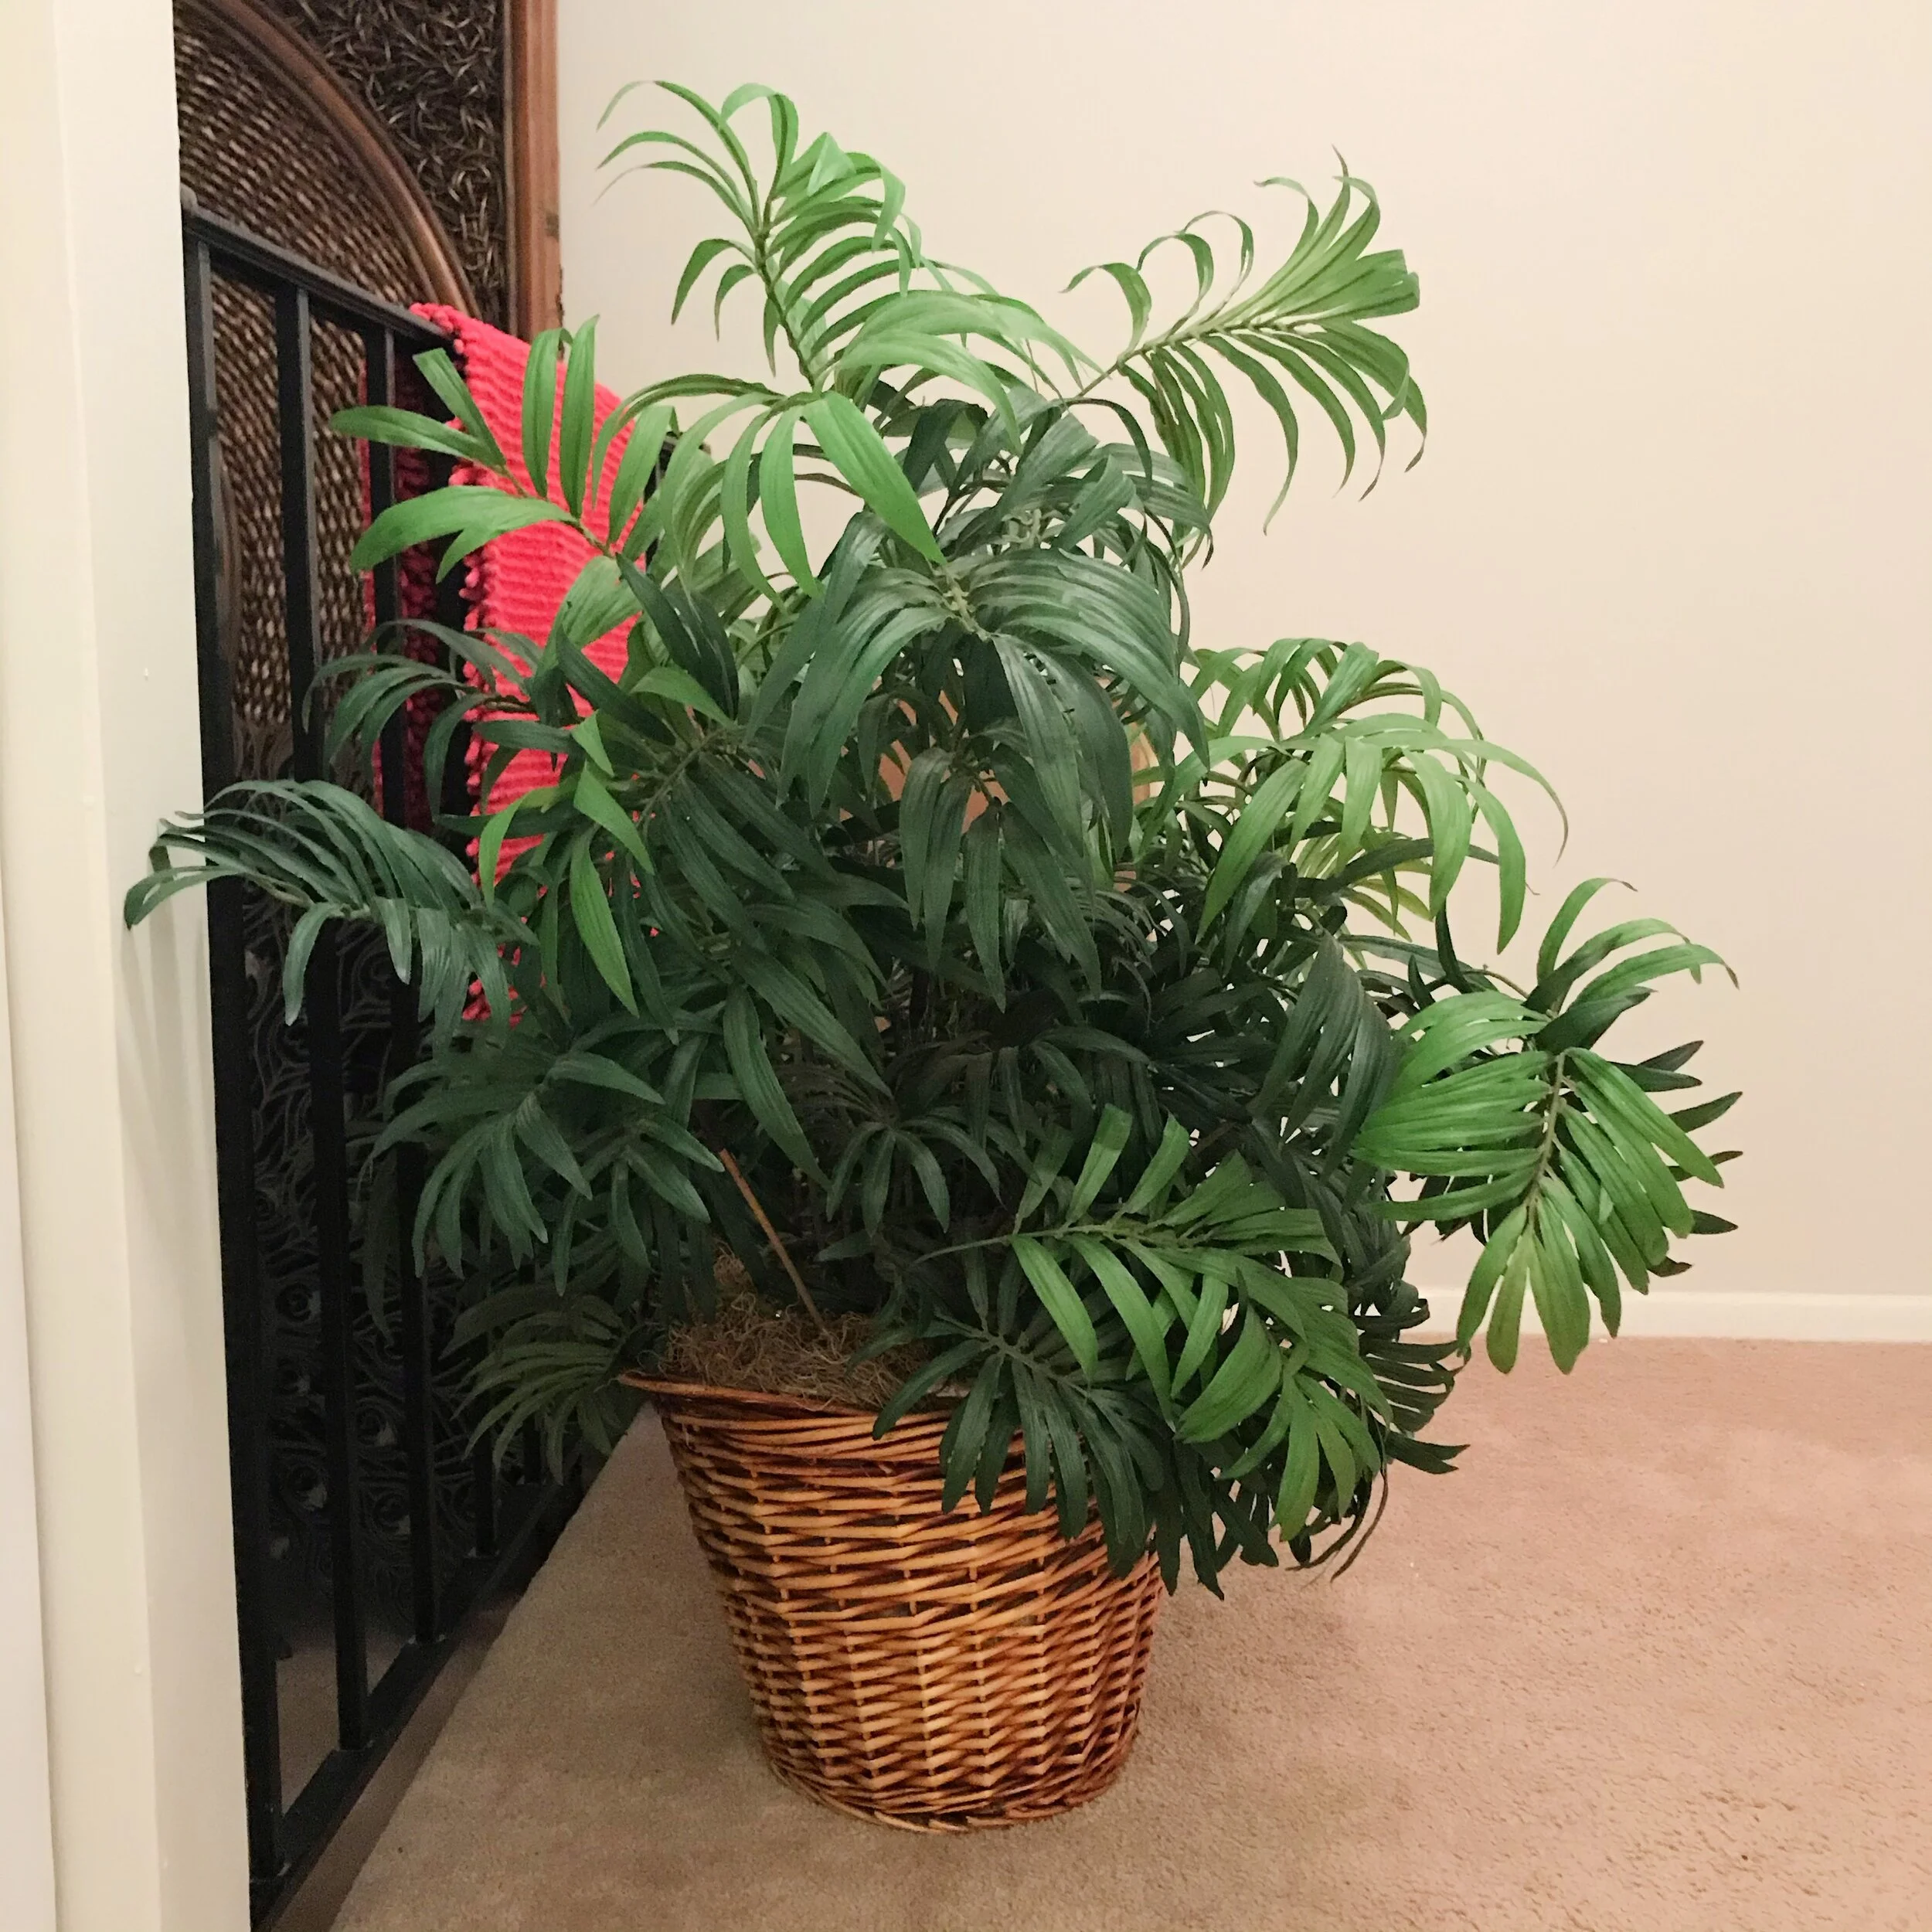
I cleaned off the frond bunch and put it into the flower pot with the new foam.
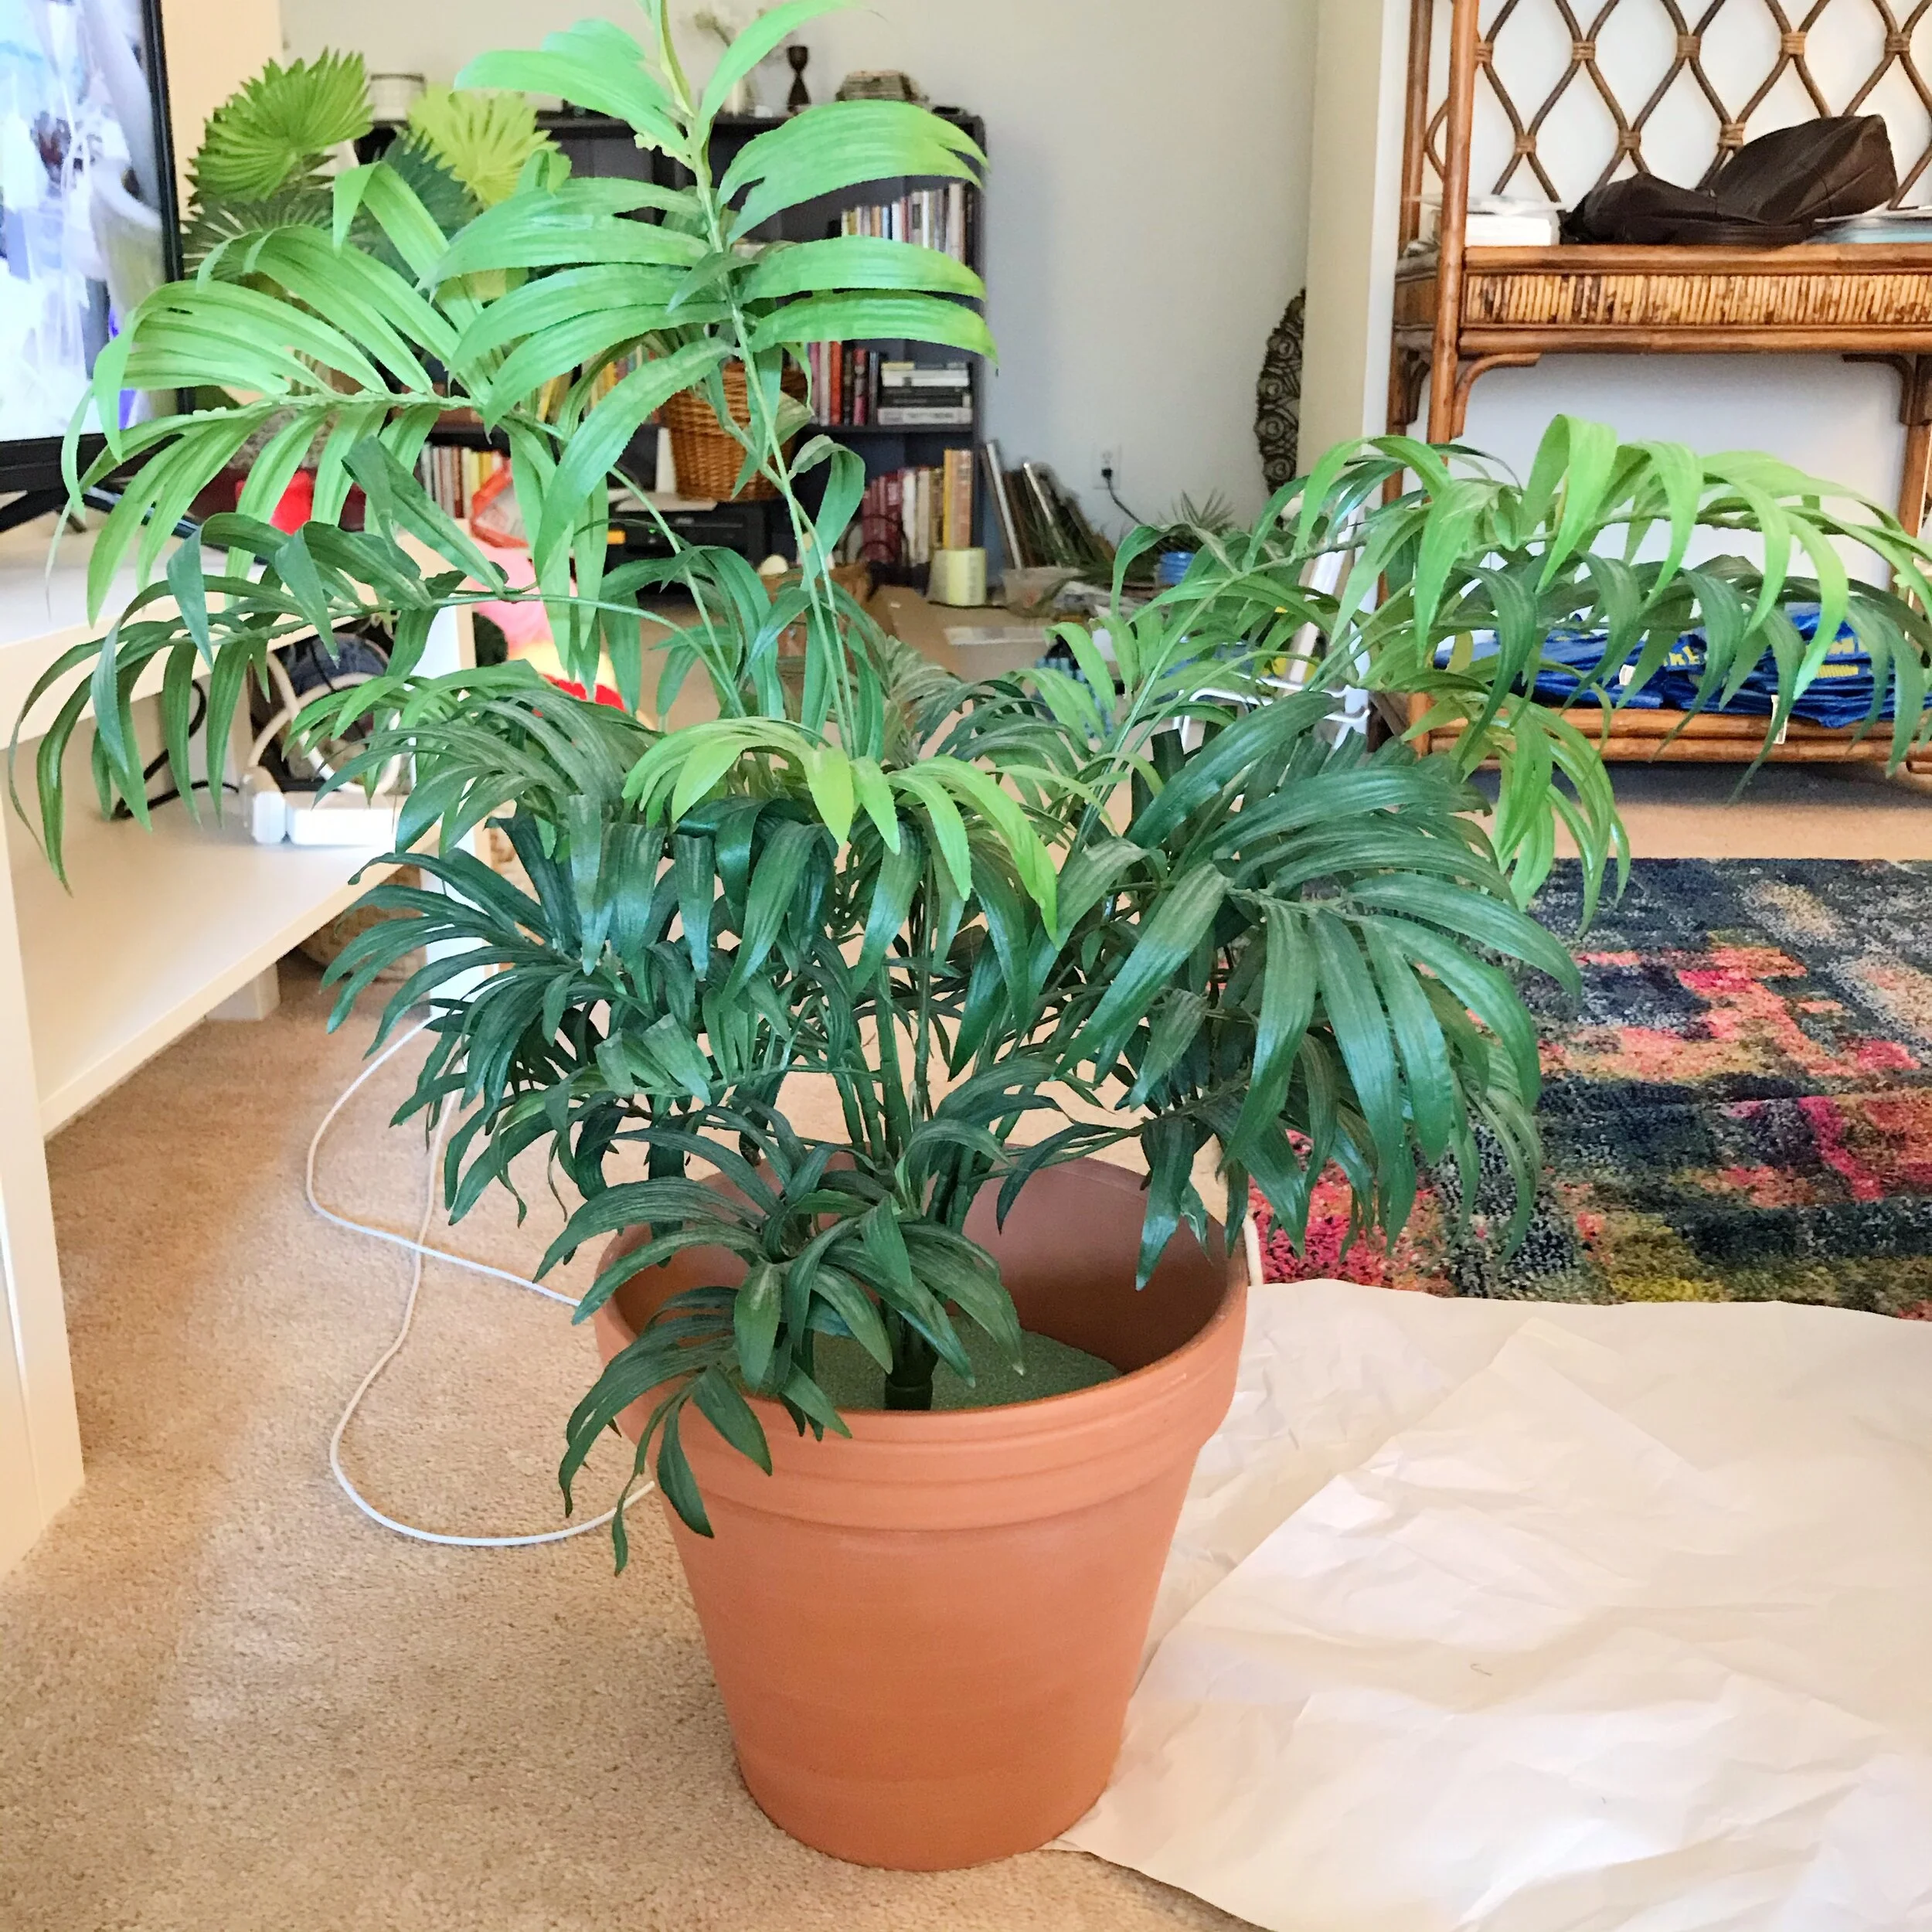
It’s kind of amazing how full it already looks with just that one bunch in the pot. But I wanted it to look fuller, so I started slowly adding individual fronds, pausing every once in a while to see how it looked. I ended up with this:
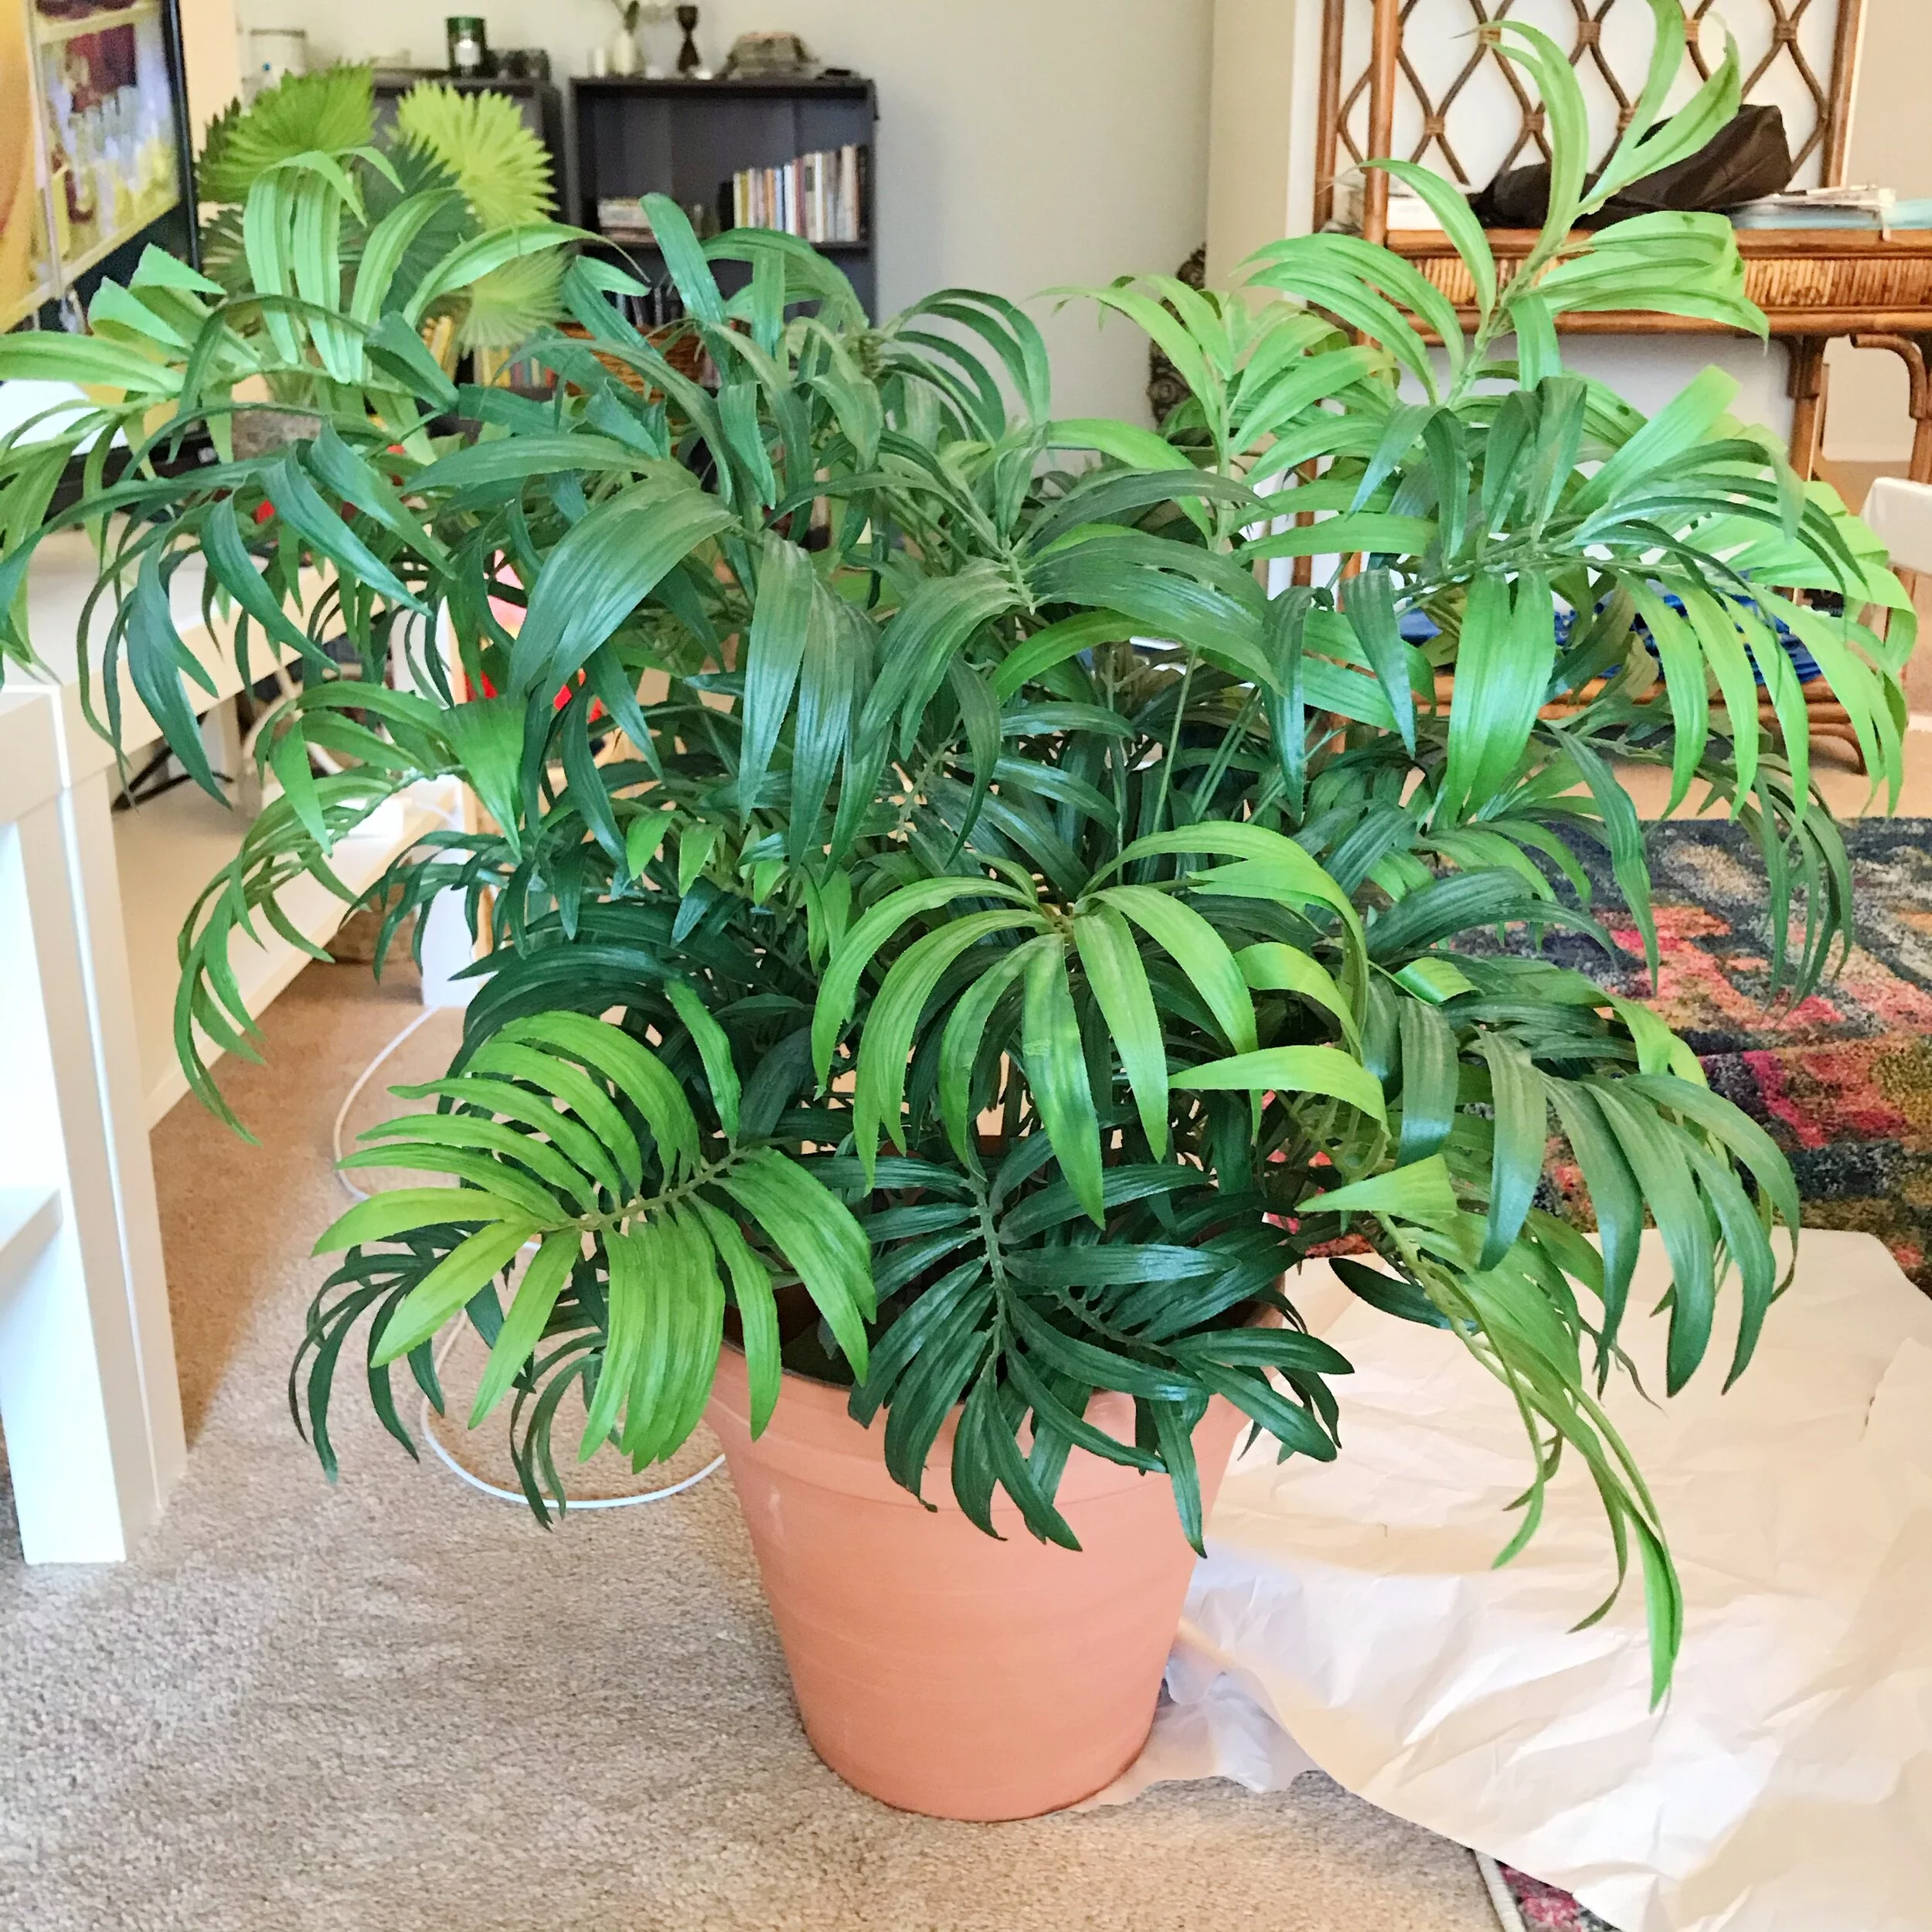
And look how many individual fronds I had leftover!
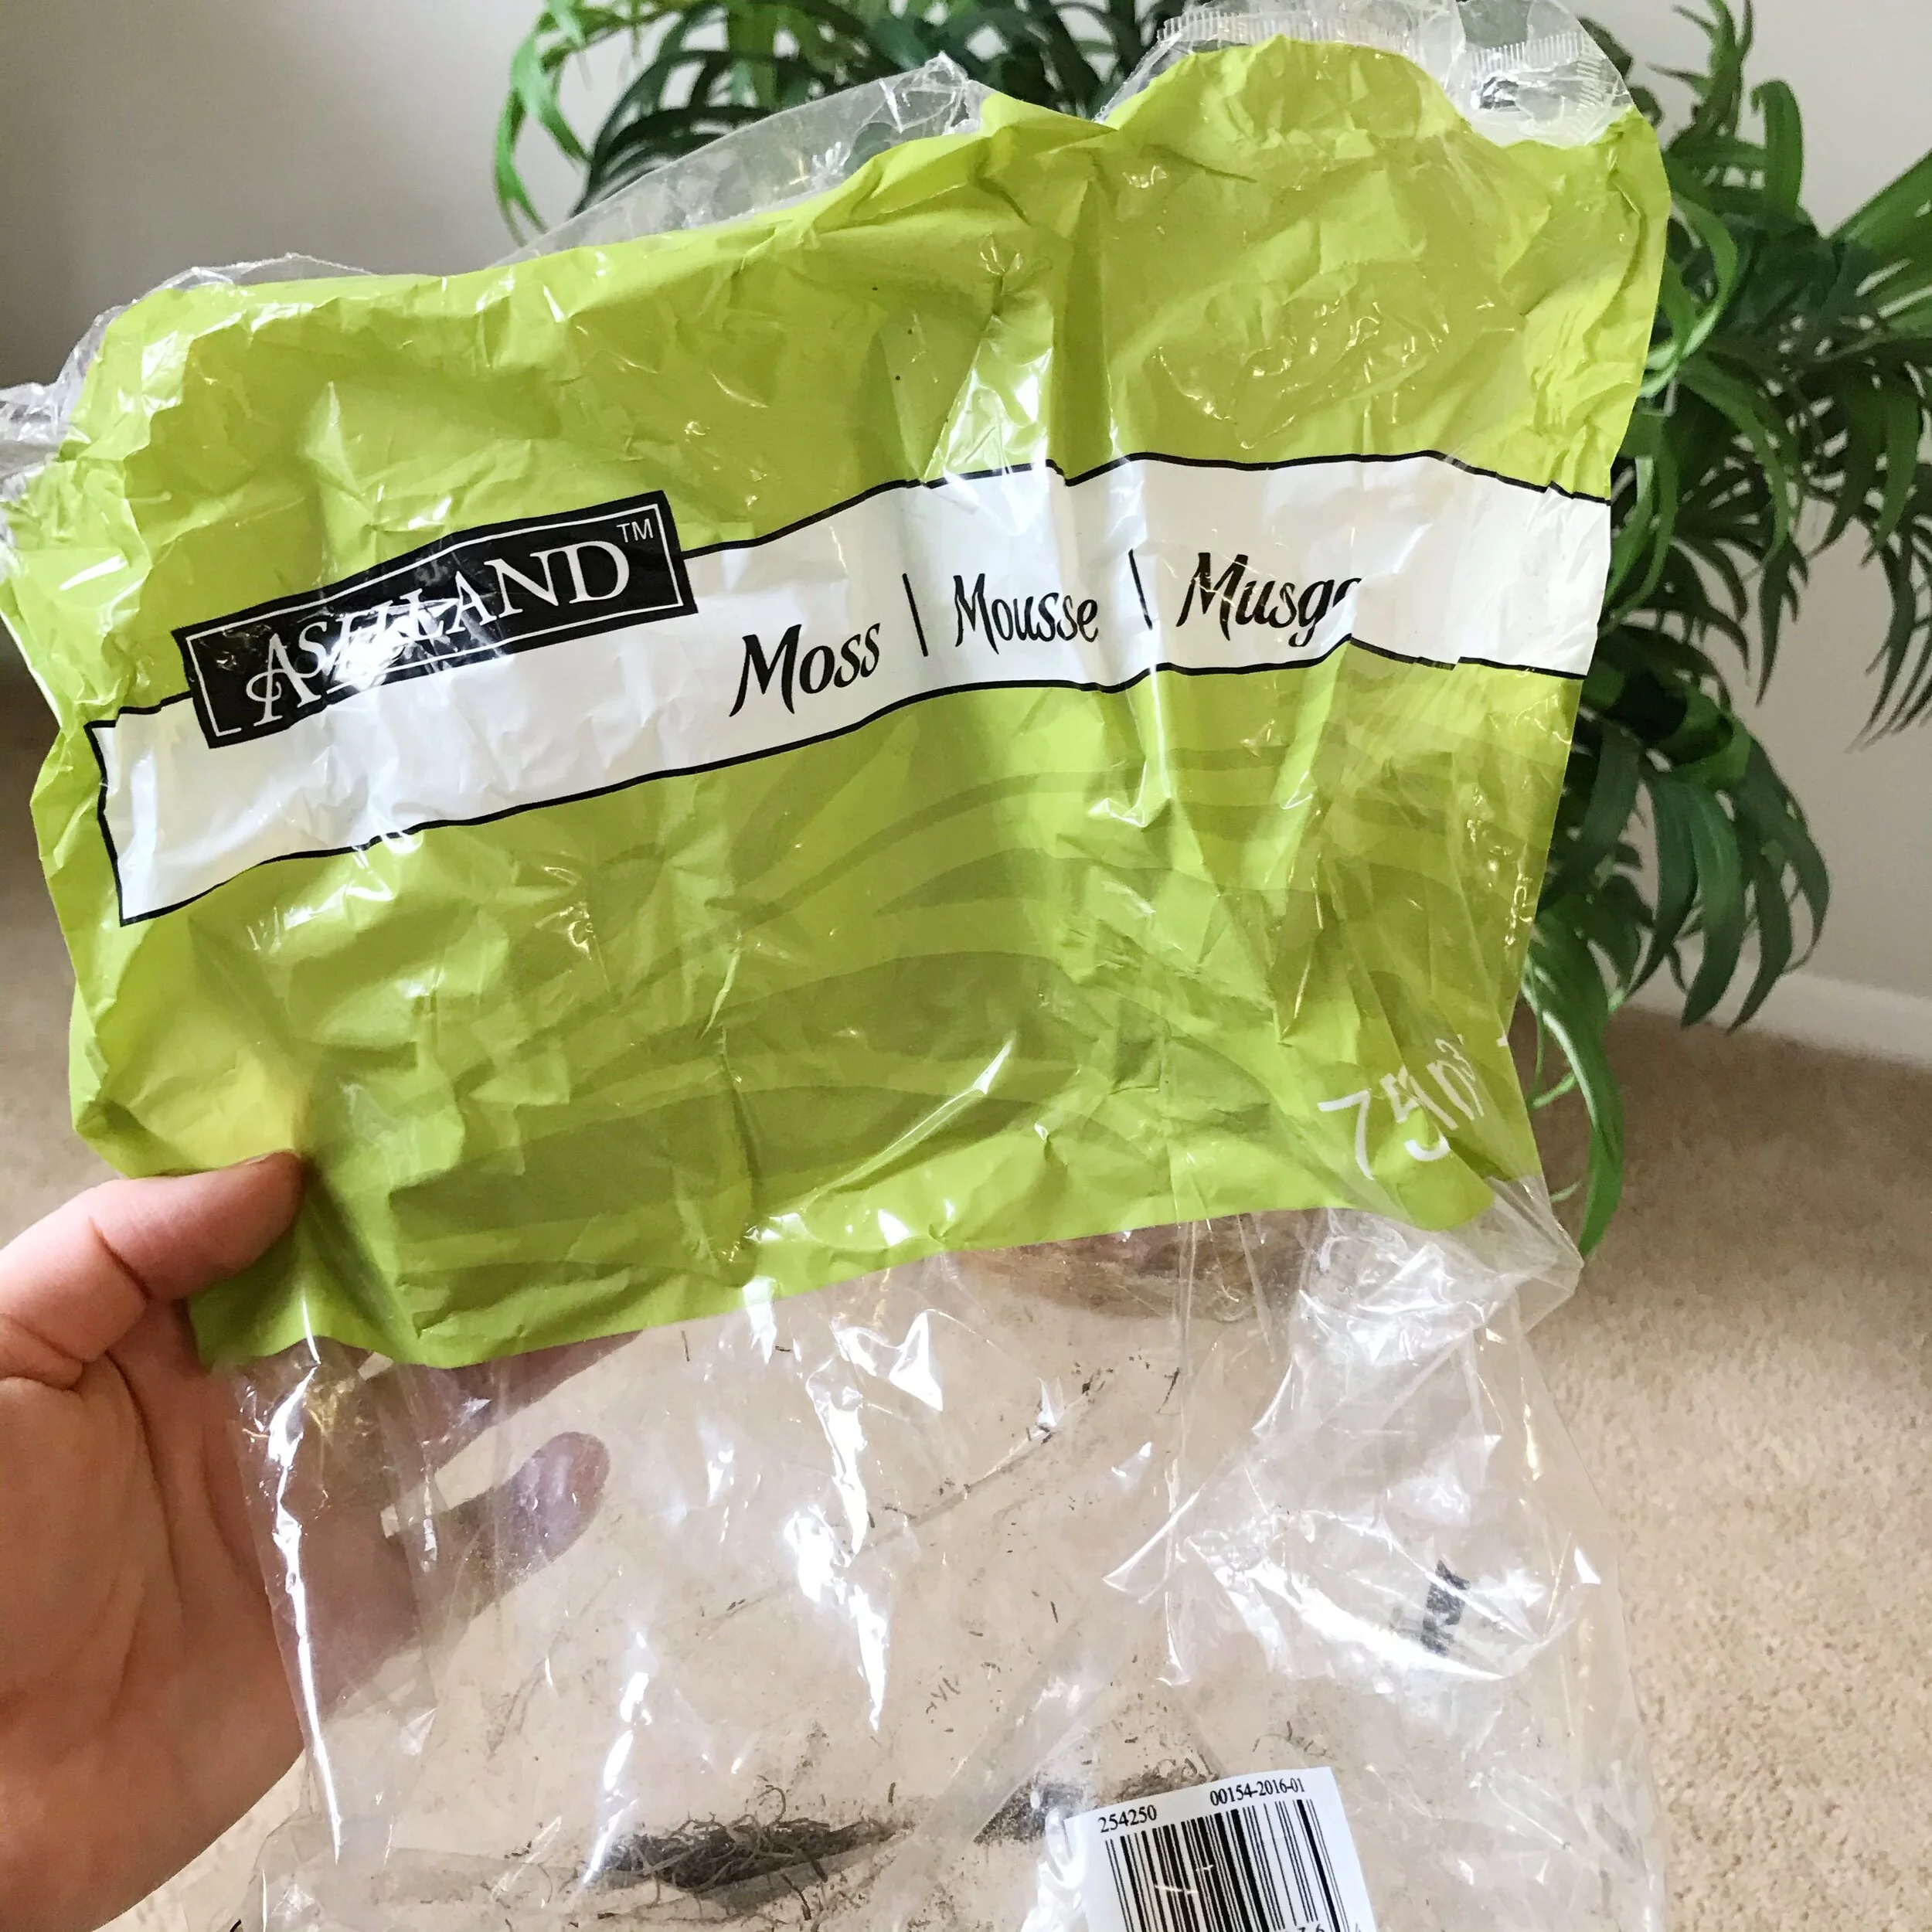
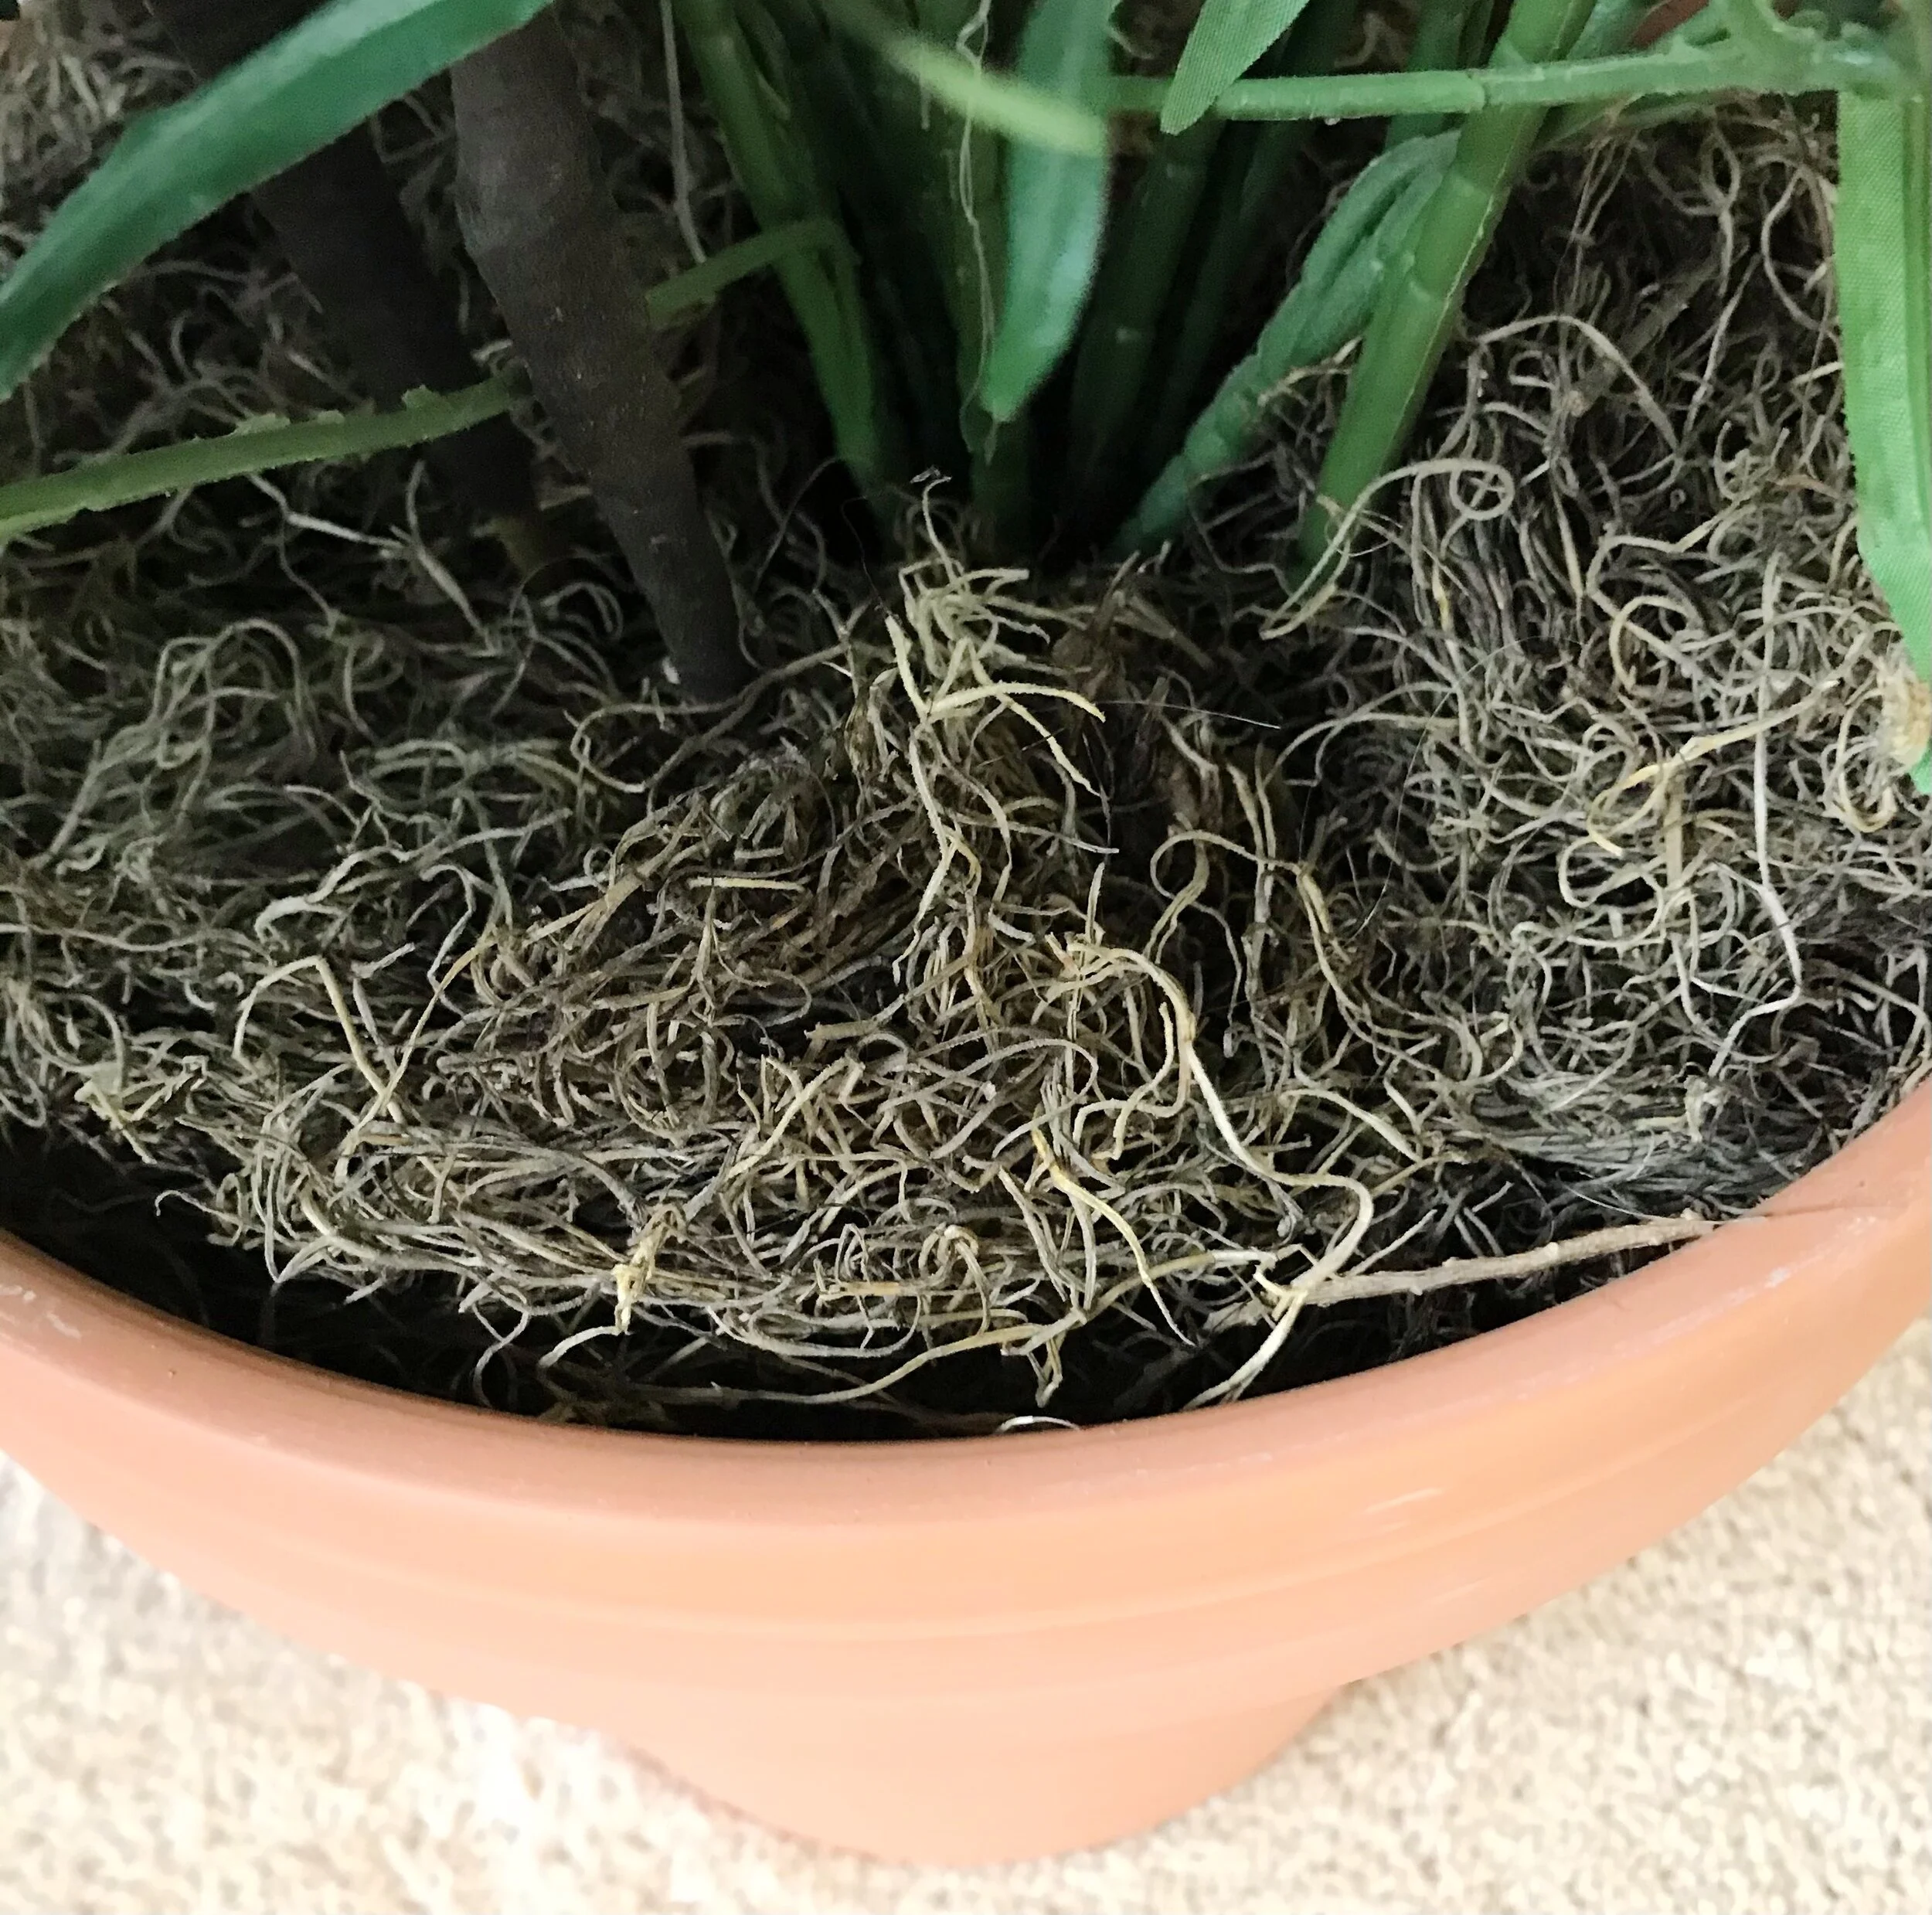
As a finishing touch, I took some fake moss that I had from another project and fitted it into the top of the pot, around the fronds. It helped anchor things a little better because, full disclosure: the new foam combined with the fronds was a little unstable; everything would kind of flop over if I moved the flower pot around too much. This wasn’t a big deal to me because the plant was going to just sit on the floor and not move around much. (But just so you know, if you want everything to be more stable, I would try to glue the foam into the pot.)
But the moss helped with that a little, so that’s good!
The final product turned out looking great, albeit very similar to before! But I’m really happy that he got a freshening up!